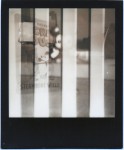
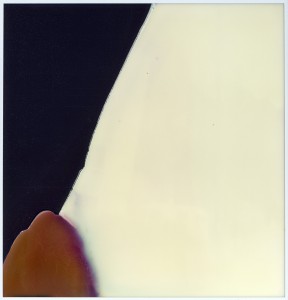
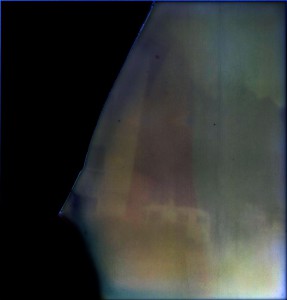
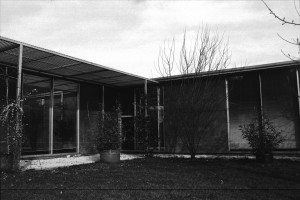
Polaroid filtered multiexposure


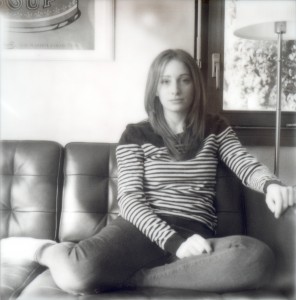
Akeksandra, double


Aleksandra, double

Model: Aleksandra
The Impossible Project PX600 Black Frame Poor Pod UV+
Polaroid Land Camera 1000 with ND Filter

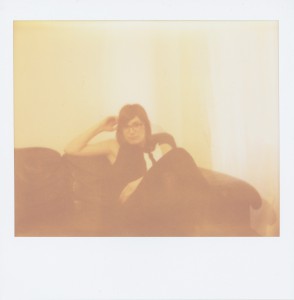
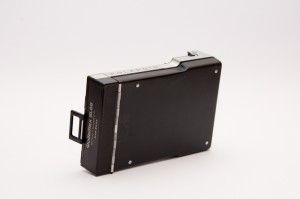
Today I’m here to tell you about some other experimentation I did on instant film and Polaroid camera. When I was really a beginner with polas, I wanted to do some double exposure shots but I just didn’t know how to do it. Instead of looking for a tutorial I preferred to figure it out by myself. The first thing I did was damn stupid, no, rather naïve I’d say: after taking the first shot, I put the picture back on the top of the pack and shot again. I didn’t think about the exposure from of the picture outside of the camera but most important I had no clue about how the chemistry cycle of one picture is. The result was a totally burned shot by the way, on The Impossible Project PX 70 PUSH! film if I remember well. I realized that the only solution was to do all the exposures before the film could be ejected from the camera. For some film storage reasons I was pretty good at inserting blackslide or similar stuff at the top of a film pack before pulling it off from a camera so I could switch between different film using a single camera, and there came the idea: I had to put something at the top of the film pack that could be ejected instead of the picture without forcing the camera’s mechanism and letting the picture being exposed at the same time. Let’s use a transparent film then! I cut out a Polaroid sized rectangle of acetate (transparent film) and I tried using it at the top of the pack. It kind of worked! The first attempt were burned blank photos because I forgot to reduce the exposure time, which I obviously had to do since I was exposing twice a single film. But before managing to shot a decent picture another idea came to my mind: what if the transparent film is not completely transparent? Which particular result could I achieve playing with positive-negative shapes or patterns? And there I was, printing different masks on acetate.

The picture at the top of this post is actually the very first shot with this technique. Successful! I did some other shots like this but the process was pretty slow and hard, the risk of light leaks was very high and for some reasons different times it happened that things went just wrong and the camera got completely stuck and stuff. I haven’t found a better way to do it, but one day I will, or if you have any tip or suggestion just leave a comment.

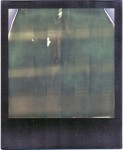
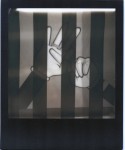
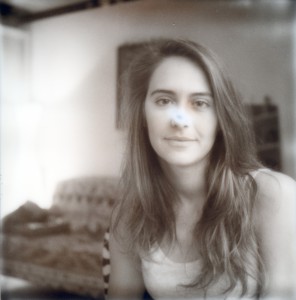
Here are some other shots, some good and other big failure ;)

Aleksandra, doubleGhost, ZebraMickey TestTest FailTest FailElisa, front and back


Projects: Nude Series and Bedroom Portrait Series

I am working on two parallel series, their name in the title is just temporary. As you may have guessed, the first one is a nude series on instant film that I started more than one year ago. I have never shown pictures from that project yet because I don’t want to come up with few pictures at a time but present them once they are a certain number. During the year I refreshed up the idea of it so I sort of restarted the project with some restriction to it. Due to this most – gh, maybe all – of the pictures I’ve previously made are now out of project but they were very useful to practice the interaction with the models and to set the restrictions. I’m sure those shots will have their own value separately. I’ve uploaded some of the latest shots from the first part of the project here in a dedicated deviantArt folder. Besides, they are the only two models that allowed me to publish the works at the time.
The second series I am working on is about portraits of people in their own bedrooms, shoot completely on film. I know that this is all but something new but I wanted to explore this kind of classic portraiture, having care of both subject and background details, good choice of depth of field and especially getting well used to my Rolleiflex SL66. Since I always go to the shootings with at least 3 cameras (damn me!) I’m taking few instant shots as preview and documentation that I will be able to show while the series grows. And I always shot digital too (same goes for the nudes, I forgot to tell this before): I hardly like to shoot digital but hey, one never knows, it’s a warranty plus a cheaper and faster way to have previews!

Here are some previews from the Bedroom Portraits series I am working on. These are instant shots to get the idea, as said the series is shot on 120 color film.

From the Bedroom Portraits serie

From the Bedroom Portraits serie

Gilda portraits

Model: Gilda
The Impossible Project PX100 UV+
Polaroid SX-70 Sonar One Step


From the Bedroom Portraits serie

Sophie portrait

Model: Sophie
The Impossible Project PX100 UV+
Polaroid SX-70 Sonar One Step


Alice Portrait

Alice portrait

Model: Alice
The Impossible Project PX600 Black Frame Poor Pod UV+
Polaroid SLR 680


Simona Portrait


Simona portrait

Model: Simona
Polaroid Soft Tone Expired
Polaroid Image System

Shoebox Pinhole Camera

Today I want to show you the shoebox pinhole camera I have done not long ago. This is probably the easiest way to do your own pinhole camera. It loads photographic paper sheets and of course polaroid film works too, I haven’t done good exposure with it yet because I’m pretty busy. That’s also the reason why I am showing things I have done instead things I am doing. But the blog is fresh new so some retrospective cannot be avoided.

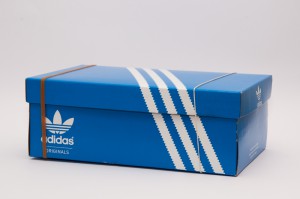
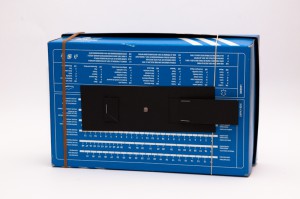
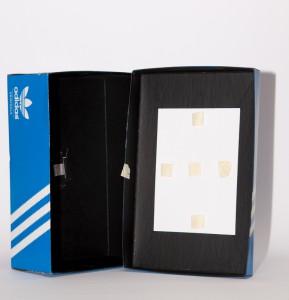
As you can see in the following pictures it’s made of an adidas shoebox spray painted black in the inside. The diaphragm (pinhole) is made on tin from a soda can with a needle, I didn’t check what’s the diameter. The shutter is made of thick black paper and everything is hold together by two elastic bands. The piece of white paper in it is to help me to spot the right position in complete darkness, I don’t really need it when I load it in darkroom because of the safe light.

Shoebox pinhole camera sideview

Shoebox pinhole camera shutter on bottom

Shoebox pinhole camera inside


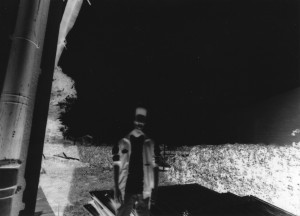
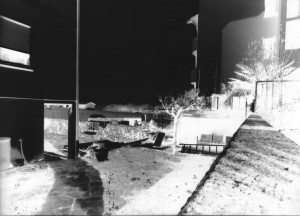
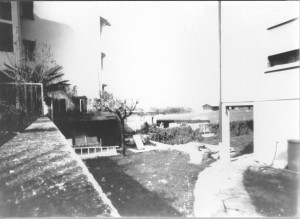
These are the first shots, they’re pretty much over exposed:

Pinhole Self PortraitPinhole Self Portrait positive


Pinhole test shotPinhole test shot positive


You notice there is a mirrored and negative version of each picture. For those who don’t know, the image obtained on regular film or photographic paper is both negative and flipped. The reason why prints are positive is because they are negatives of negatives, I hope this simplification is clear enough, if not just ask in the comment form on the bottom of this post. For the first shot I’ve used photoshop to flip and invert the image. To obtain the positive of the second shot I made a contact print, exposing a sheet to light trough the negative photograph with the image facing down, which flipping the final image to a right result.

In the case of instant film the image is only flipped. They are always positive photos so the goes when exposed with this shoebox camera.

Pinhole on Impossible filmPinhole on Impossible film LEVELED

Pinhole on Impossible film

The first shot looks funny. Obviously the exposure time was too long and the photo is totally burned (the light part on the right) and a production defect made the chemistry come out in that irregular way. I love how it looks. Even if the shot was almost totally white I thought to myself “something must be impressed on this film, photoshop will give me the answer” and that happened. The second picture is the result of the first put under extreme leveling and there they are: part of my house, the camper and the mountain’s profile. The third and last shot was done indoor in shade conditions. It seems the exposure was again too long but I was sure to have reduced it enough this time. These three vertical stripes are something about the chemistry in the pod that is not uniform, the horizontal line is a manufacturing defect (the film was The Impossible Project PX680 Bottom Line and it was cheaper because of that issue).

I’ll find the right exposure and I’ll come out with some pinhole instant portraits or something soon. What do you think about it? Is it worth trying or is a waste of film and nothing new? Not that I think it’s new, but I’m intrigued with it! Please share your opinions :)

New SL66 Polaroid Back

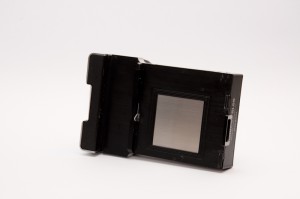
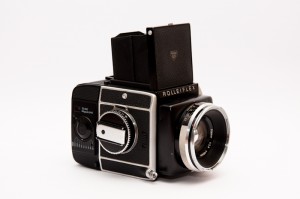
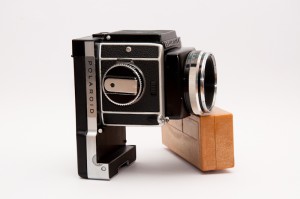
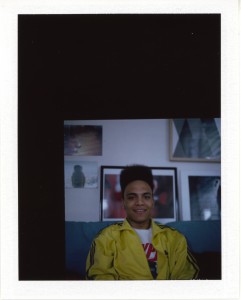
Since I began shooting on my Rolleiflex SL66 I’ve been looking for a Polaroid Back for it, and finally I found one. It is made by Arcaswiss. I had to try it immediately but I discovered it didn’t fit properly. I found out that a part of it was bent, maybe during shipping, but my dad managed to straighten the part without damaging it and now it mounts without problems. I went in my darkroom to switch an opened pack of Fuji FP-100C from a defected Polaroid Automatic 100 I’ve been shooting with to the new back without losing any shot and then asked my dad to take a quick snapshot of me just to try it out, I seriously could not wait. It works fine, the only problem is that when using it on the SL66 it’s hard to put it on my tripod, so I have to use it backwards, but that’s ok. It is a bit sad to use only a little square on the picture instead of the whole size but it’s fine for test shots before exposing a whole film roll on one subject constant light condition. Now I’m able to figure out how the picture will look like on the negative, and post the previews as well! Here are some pictures of the Polaroid back, my Rolleiflex and the test shot we did:

Polaroid back for SL66 by Arcaswiss

Polaroid back for SL66 by Arcaswiss

Rolleiflex SL66 with 120 back

Rolleiflex SL66 with Polaroid back

Portrait, test shot

Caffenol-C for prints

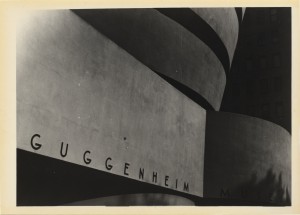
Thanks to my reference for Caffenol-C process at caffenol.org I found out that this process can be used for printing as well. Now it’s pretty obvious to me, since the light sensitive chemical stuff on film and paper is quite the same, the only difference is that paper is way less sensitive. In the post on caffenol.org about printing I’ve seen amazing results and expected to obtain the same tones. But one year ago I didn’t know anything about those chemical reaction so I was surprised, and I immediately looked on online auctions for an enlarger. I found one for 10 swiss francs (about 11$, for real), then I bought other stuff needed to set up a darkroom. I converted our almost unused cellar into a darkroom, bought some packs of Ilford expired paper sheets for a bunch and tried to develop with caffenol. Well, I realized that the beautiful tone I was expecting seeing the pictures on that post was mainly due to warm tone paper used, but some brownish tone was obtained with coffee anyway. At the time I didn’t even know how crucial the right temperature during processing is, so I always used too cold caffenol and the contrasts obtained are usually low and the blacks not enough deep.

Now that I’ve printed with traditional process too I can say that the greatest difference between them is the warm brownish tone caffenol gives to the white of the paper. Here are some of my first prints, some with quite a good contrast and one with bad. The prints are not cropped, I didn’t care too much about it as I was just trying to catch up with exposure, development time and contrast filters.


N.Y. Guggenheim Caffenol Print

Rolex building in Lausanne

Brooklyin Bridge Caffenol Print

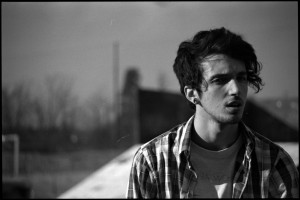
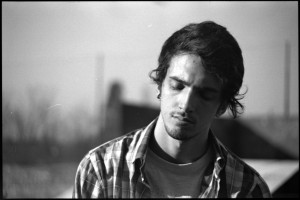
Riccardo Caffenol Print

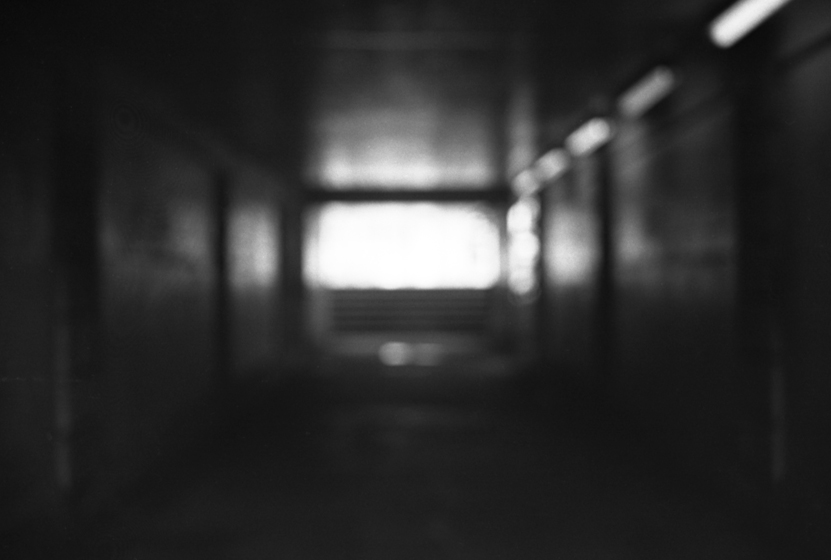
Subway

subway picture

Subway – Ilford FP4 125 developed with Caffenol-C


This shot is from a negative I’ve developed with caffenol-c in 2011. The blur and the contrast are just as I hoped! It still surprises me how good caffenol processed films look. I’ve also used this process for prints in darkroom but I hardly achieve good contrast and deep blacks, but I guess it is due to too low temperature. The main difference between traditional process and caffenol-c is the tone the paper gains. The white becomes brownish and warm, but I guess the same effect can be optained by dipping any sheet in coffee for a while, I’m not sure about it though. I will post some caffenol-c prints soon so you can see the results.

Let me introduce you to Caffenol

Have you ever heard of Caffenol-C process? It is an alternative developement process for black and white film (you can develop color as well but the result will be monochrome) and photographic paper. About one year ago I started shooting on film with a Minolta X-700 and while looking for developement tutorial I found an article about this method. I won’t spend a lot of words about the process because there are a lots of very detailed pages about it. For instance I suggest you to visit Caffenol.org if you want to learn more.

All you need to know in this post is that this process involves instant coffee, vitamin-c and washing soda instead of usual chemistry. And the result is not bad at all, here are a few pic I’ve shot on a medium speed film (Ilford FP4 ISO 125) and scanned at home with an old Epson Perfection film scanner. The only edit is curves adjustment for the contrast.

Enjoy!


Riccardo

Riccardo

Gilda's House

Riccardo and Gilda’s house (2011)

Ilford FP4+ 125 
Minolta X-700, Minolta MD 35-105mm

My first Polaroid shot

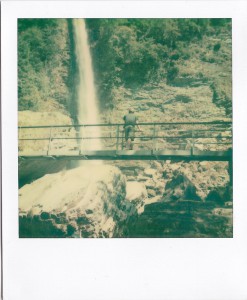
Hey everybody. I thought that to celebrate the opening of my blog it might be a nice idea to show you my first instant shot. In 2010 I discovered that it was still possible to find Polaroid film (expired of course) trough The Impossible Project shop so I immediately looked for a Polaroid camera at home and fortunately found a Polaroid Land Camera 1000. I ordered two packs of Polaroid TZ Artistic film and waited. The day the pack arrived I couldn’t wait to shoot. It was a bright sunny day and my best friend asked me to go for a walk up to Rovio’s waterfall, so we went there and I brought my camera with me. Here’s the picture I took of Davide, I still can remember the feeling:

Rovio’s Waterfall

Rovio’s Waterfall

Polaroid TZ-Artistic Expired
Polaroid Land Camera 1000
Rovio – Switzerland

Blog Open!

Ok, the time has come :)

I am proud to announce that my Activity Blog is now open!! Some stuff is still under construction but this should work for now. First of all let me introduce myself, I’ll copy-past part of my description from the “About” page:

My name is Robin Bervini, I am a 22 years old swiss student in Visual Communication. A couple of years ago I fell in love with instant photography, shooting first on expired Polaroid films and then on The Impossible Project new and beautifully unstable film. Since then I’m doing a lot of instant shooting and I’m testing new and different techniques to expose film, apart from taking multiple exposure and doing emulsion lifts for transparency as well as emulsion transfers.

That’s it, I’ll come out with pictures from stuff I’m working on and with old stuff when I’m too busy to stay active.

You can also find me on the following networks:

Robin@deviantArt

Robin@RedBubble

Robin@Flickr (I don’t really hang in there that much)


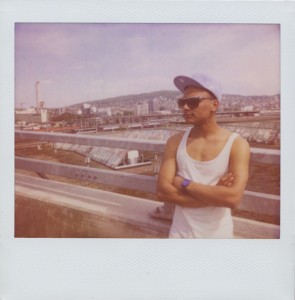
Robin in Zürich

Me in Zürich (by Francesca Wilkins, 2011)

Polaroid Softtone Edge Cut Expired
Polaroid ProCam


Zürich – Switzerland