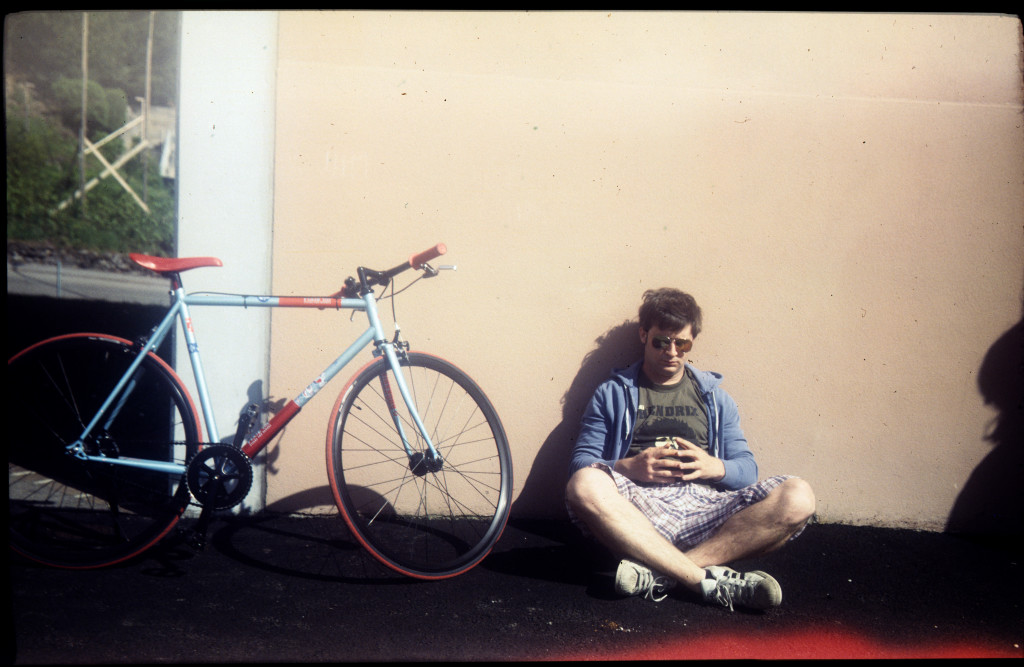
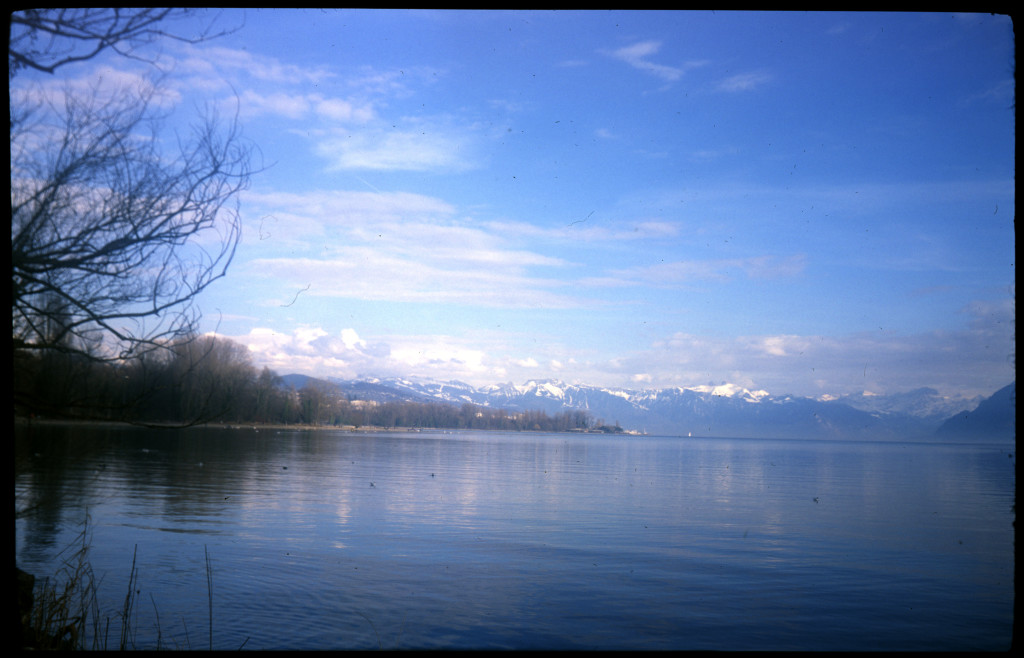
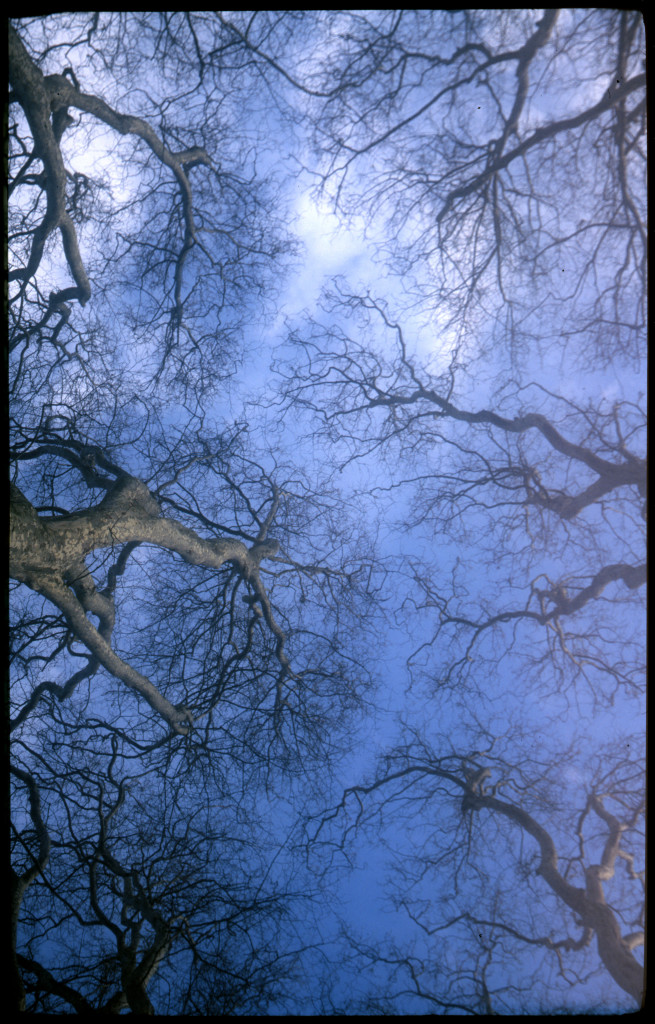
Sinar Norma x Impossible first results

Yesterday I wanted to try again shooting instant film with my Sinar Norma. A friend of mine kindly came over as I needed a face to work with. I had different goals for this test, I wanted to verify the following:

  • Impossible film actual ISO value
  • My new light meter accuracy
  • Wether if my 360mm lens works good for indoor portraits in limited space
  • Better sharpness compared to Polaroid cameras’ lenses
  • Advantages of full control of flash, aperture, speed
  • Workflow

The way I shot instant film in a 4×5 camera is not that complicated. I get in total darkness and I stick the unexposed film in the 4×5 film holder with a piece of tape, and then I slide over the mask as one would usually do with sheet film. I note on the film holder what kind of film I sticked into it just to not mess things up. I also mark how many film I take from each film pack so I always know how many there are left. I need this because I might happen to use those film packs in Polaroid Cameras and it’s really annoying when you are not sure how many shots you have left.

porta pellicole

“I stick the unexposed film […] with a piece of tape”


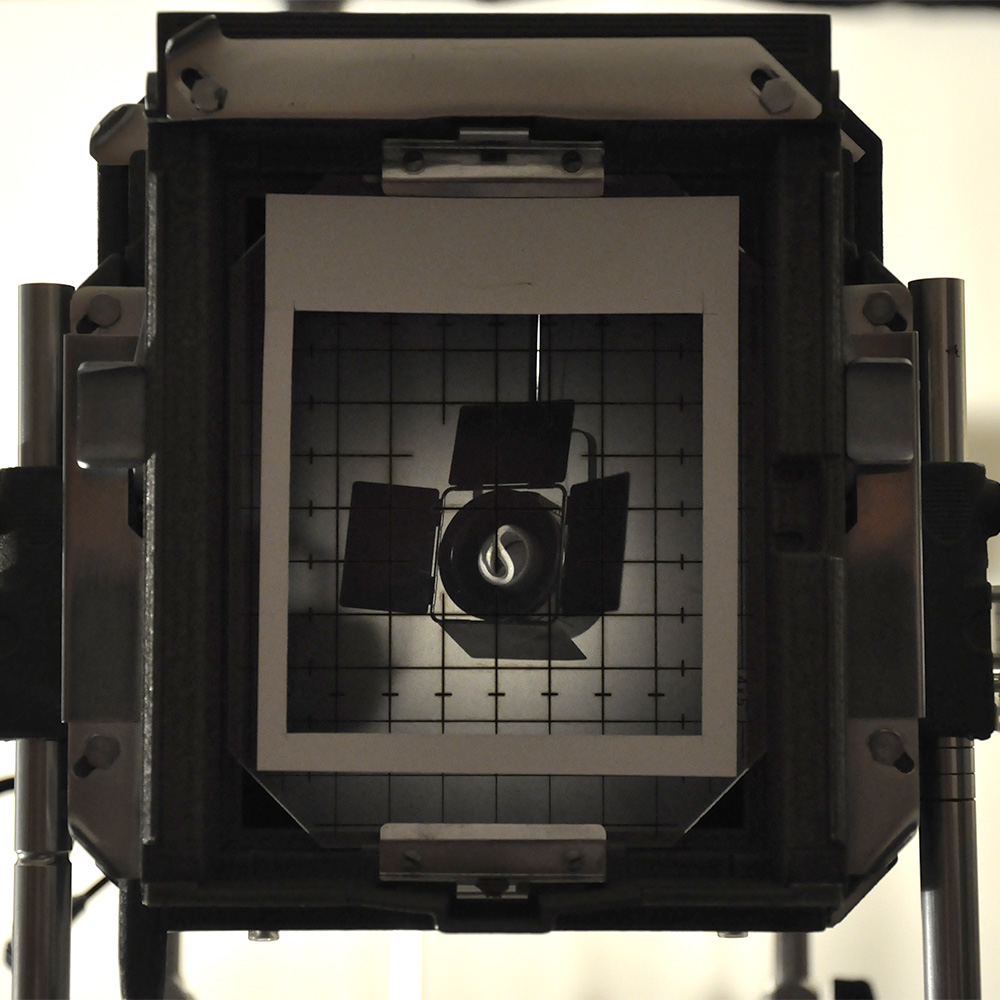
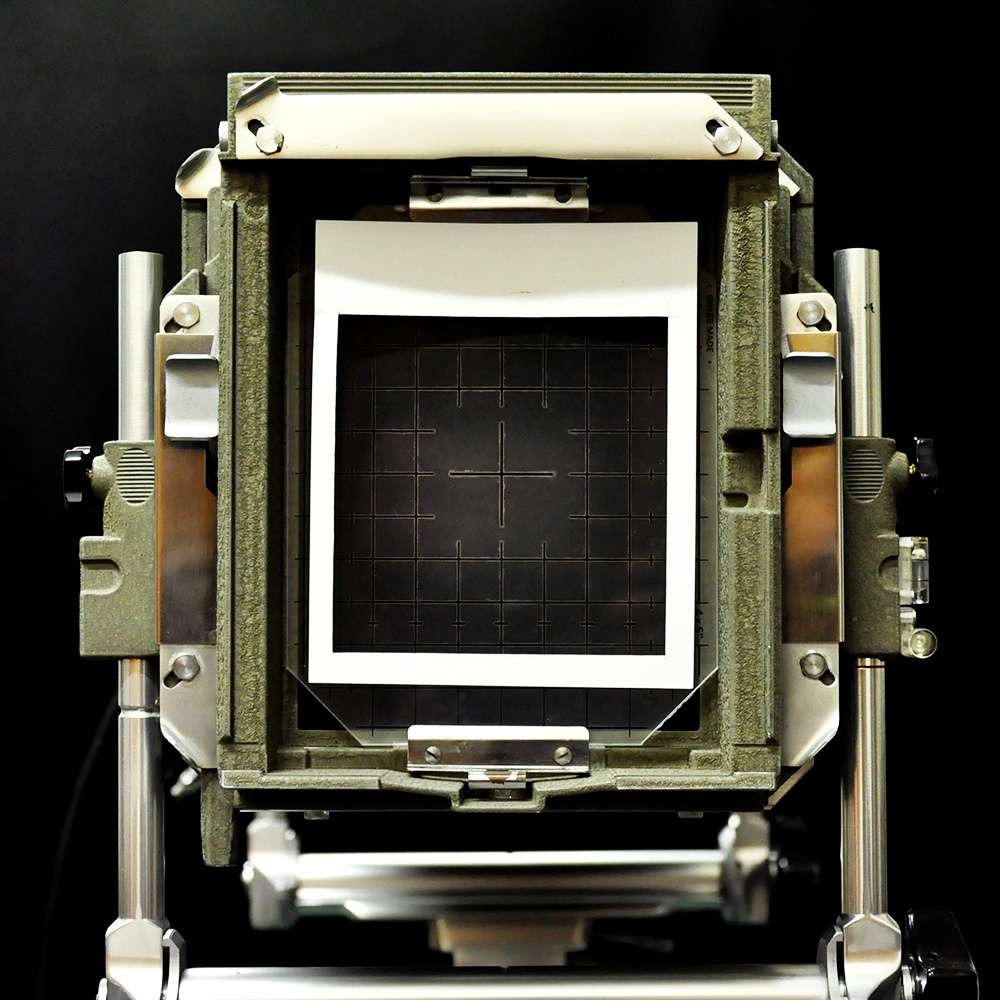
What I have to do before shooting obviously is to frame my subject, put it on focus, measure light and choose my settings. All of these steps are done as usual but framing. The ground glass is supposed to work for 4×5″ film, so to be more sure about what I am framing I cut out a Polaroid shaped mask that I sticked on the glass, its position is pretty accurate this way.

sinar backmask

The Polaroid shaped mask sticked on the ground glass as a guide.
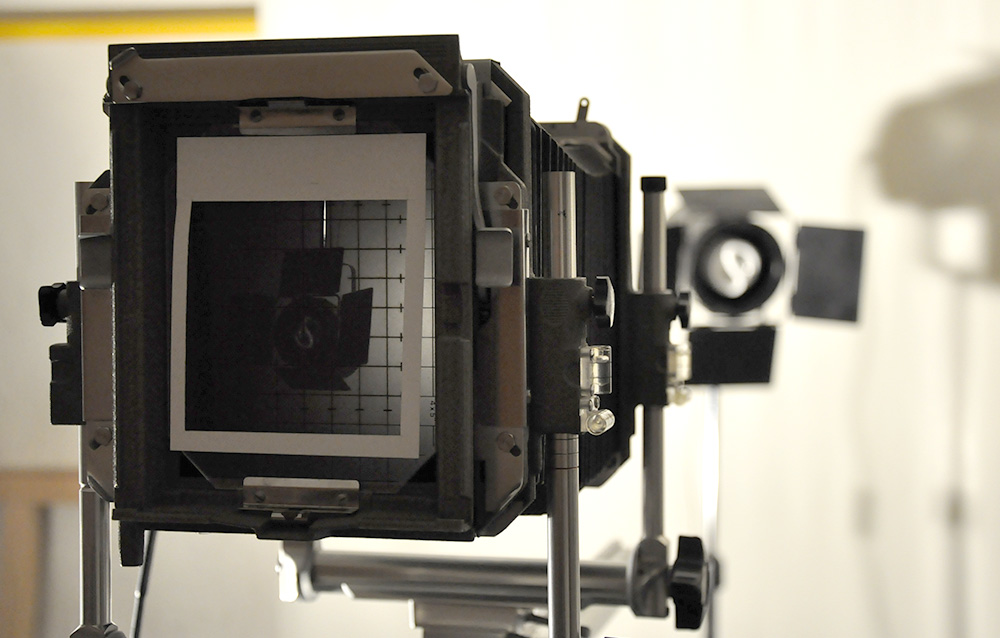
 

sinar quarterview sinarback viewHow you get to see the image on the ground glass. The mask is sticked upside down so it will be upside up on the picture. But since there is no mirroring as supposed for  Polaroid cameras the image will be horizontally flipped.


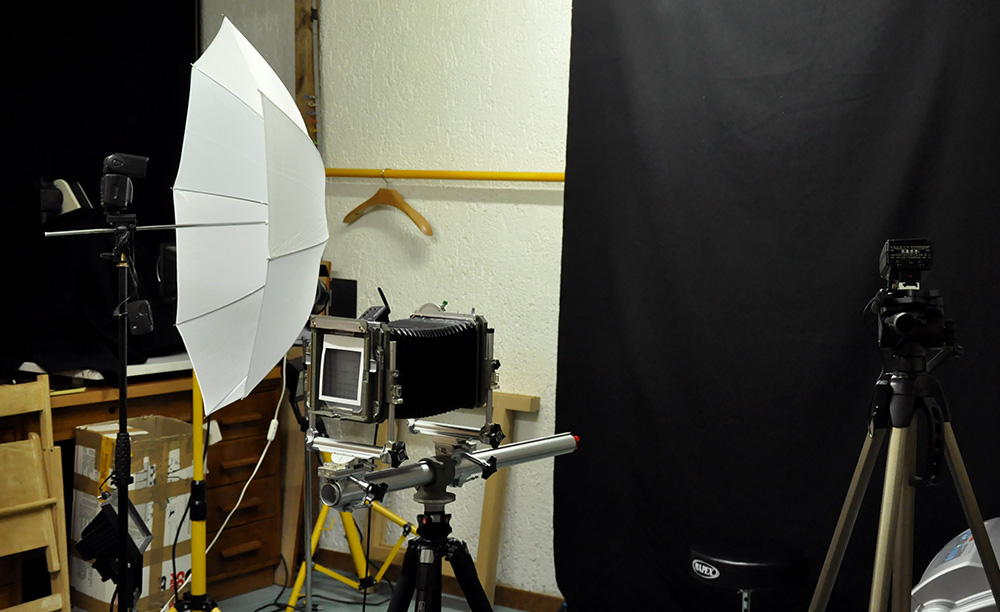
studiosetup

The set up for the test is really simple: black background and two flashlights.
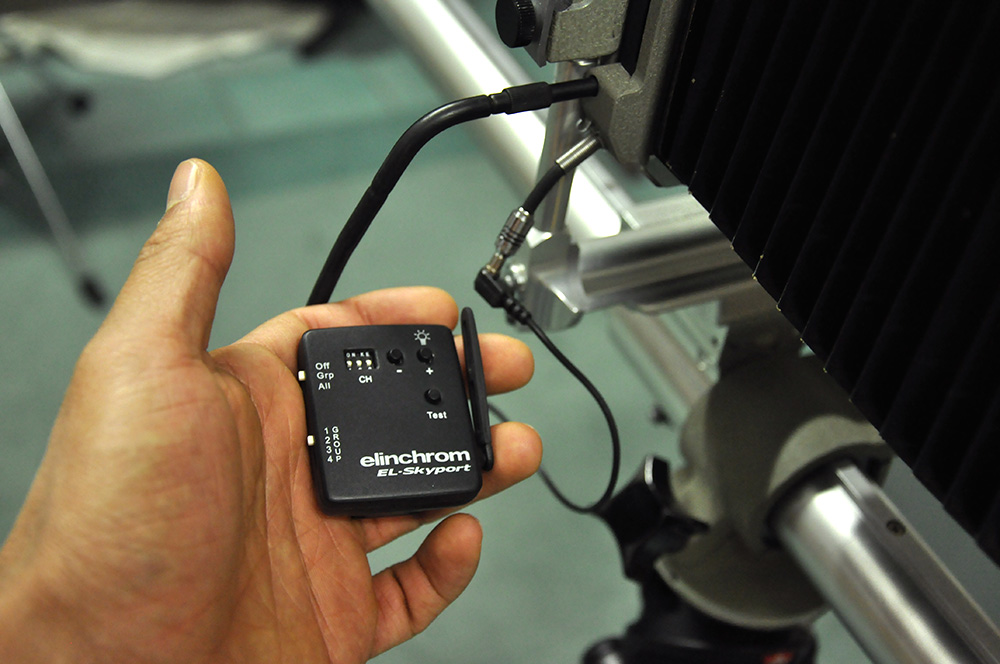
elinchromskyportI use this baby to light my flashes wirelessly

Once I’m ready to shoot I have to put the film holder in front of the ground glass, close the shutter manually, remove the mask from the film holder, release the shutter, put the mask back in and it’s done. To develop the picture I will have to use a changing bag or get in total darkness (good thing this tiny photo studio is set in my darkroom), put the film in an empty film pack and put the film pack in a Polaroid camera. At this point the camera will eject the film trough its rollers, starting the development.

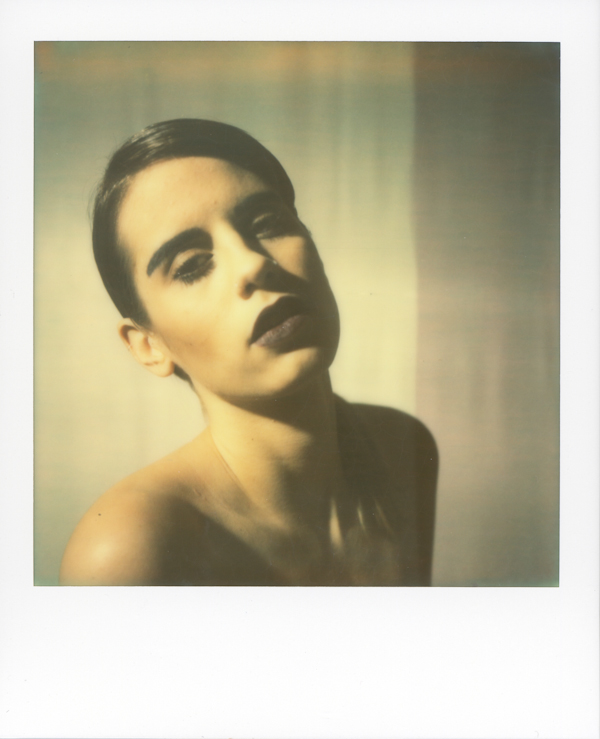
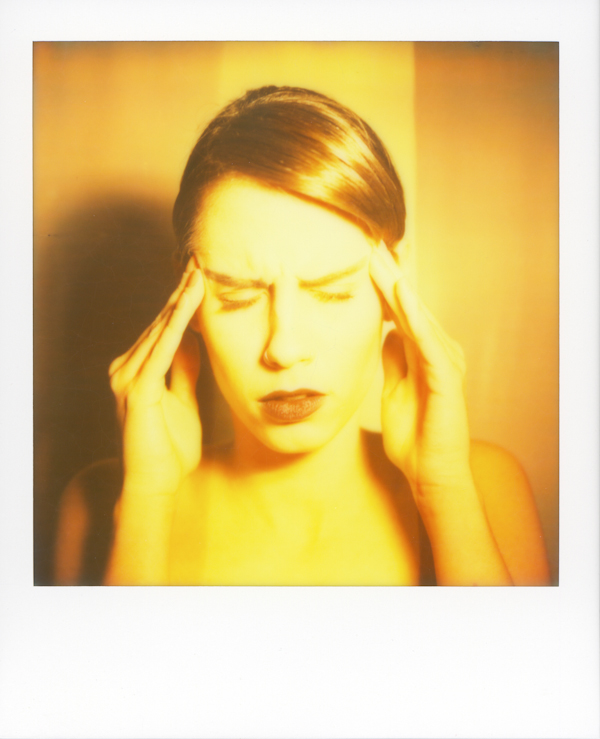
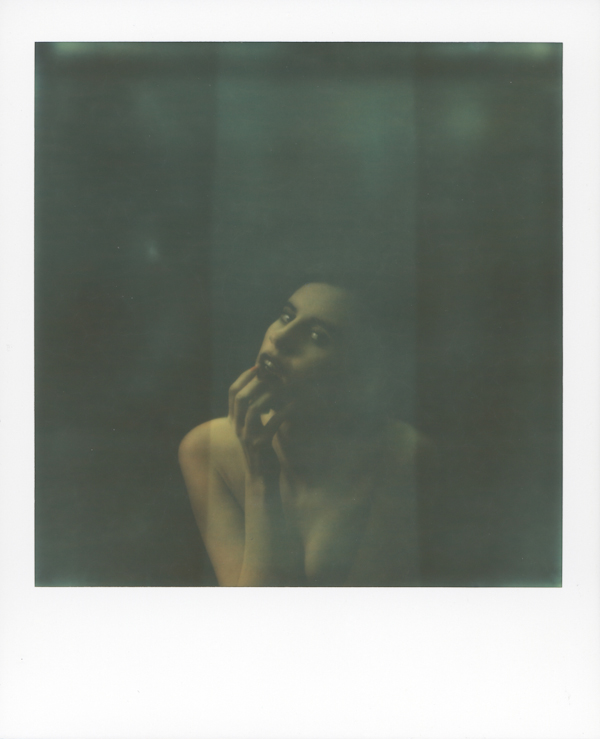
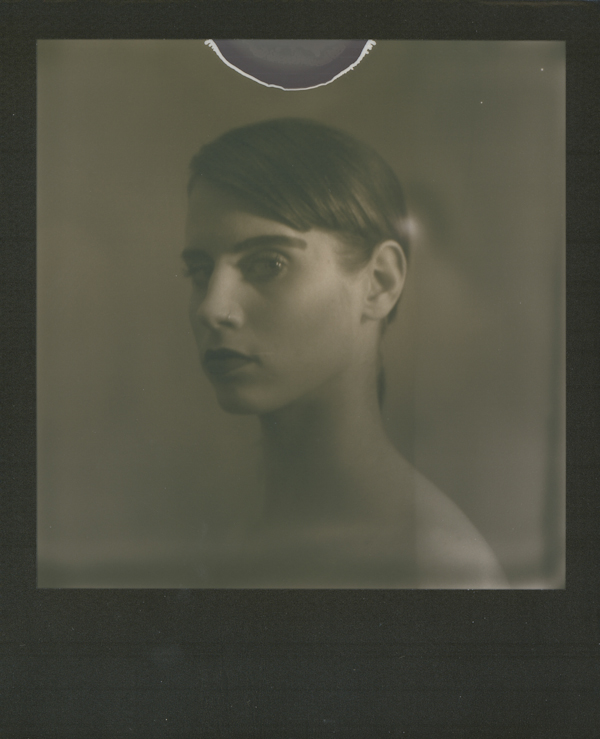
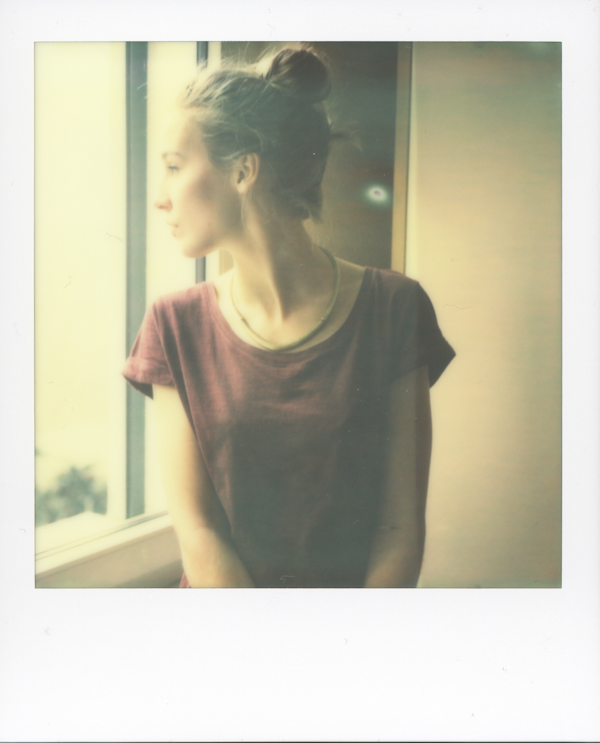
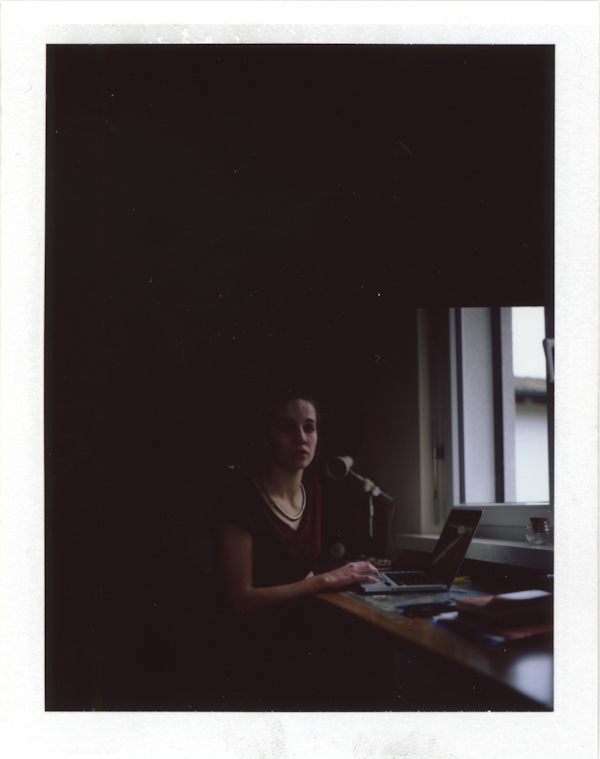
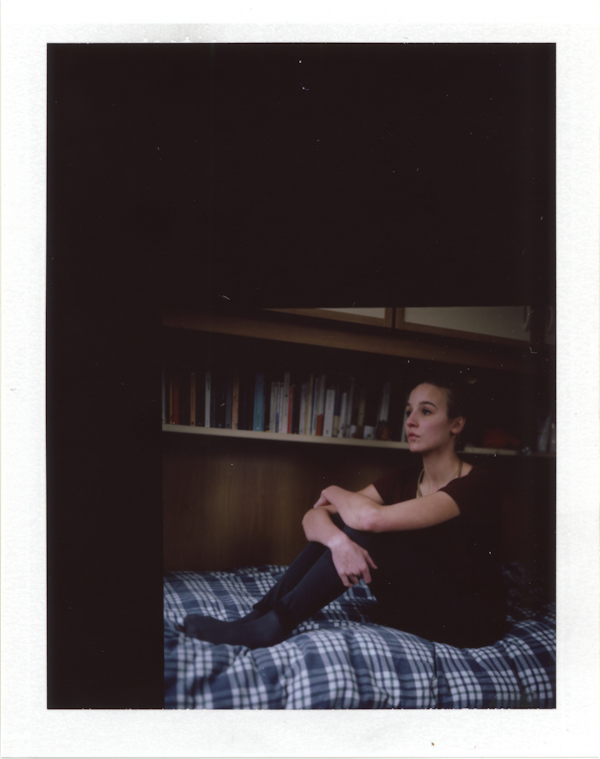
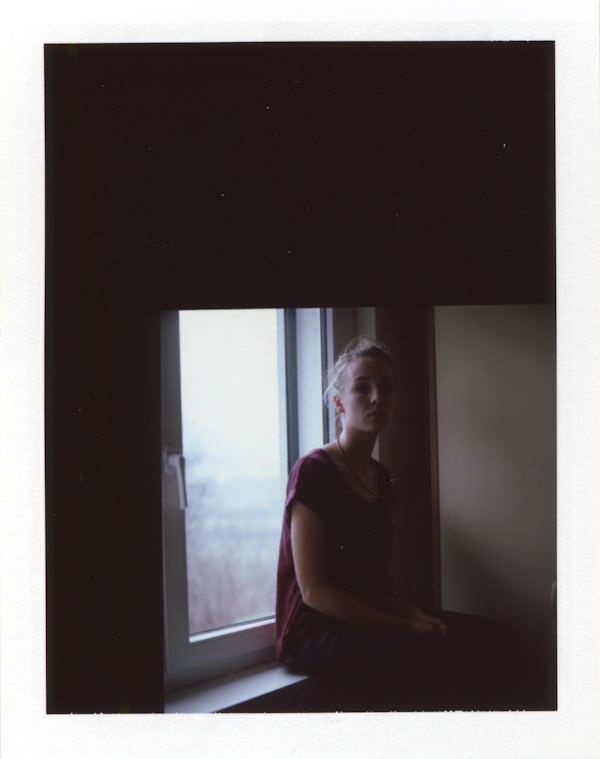
When my friend Kate arrived I already had 4 Impossible PX600 black frame poor pod film ready to shoot which I rated at ISO 640. I immediately noticed that the focal lenght I was using was too long for that close distance. I managed focusing only because I recently bought a longer rail on which the camera stands, even though the bellows are pulled to their limits. So, with that lens (360mm) I could only frame her face, I was expecting to frame more of her but it’s not that bad as with Polaroid cameras is impossible to get a face that close in focus and without distortion. Ok, here’s the pictures:

kate

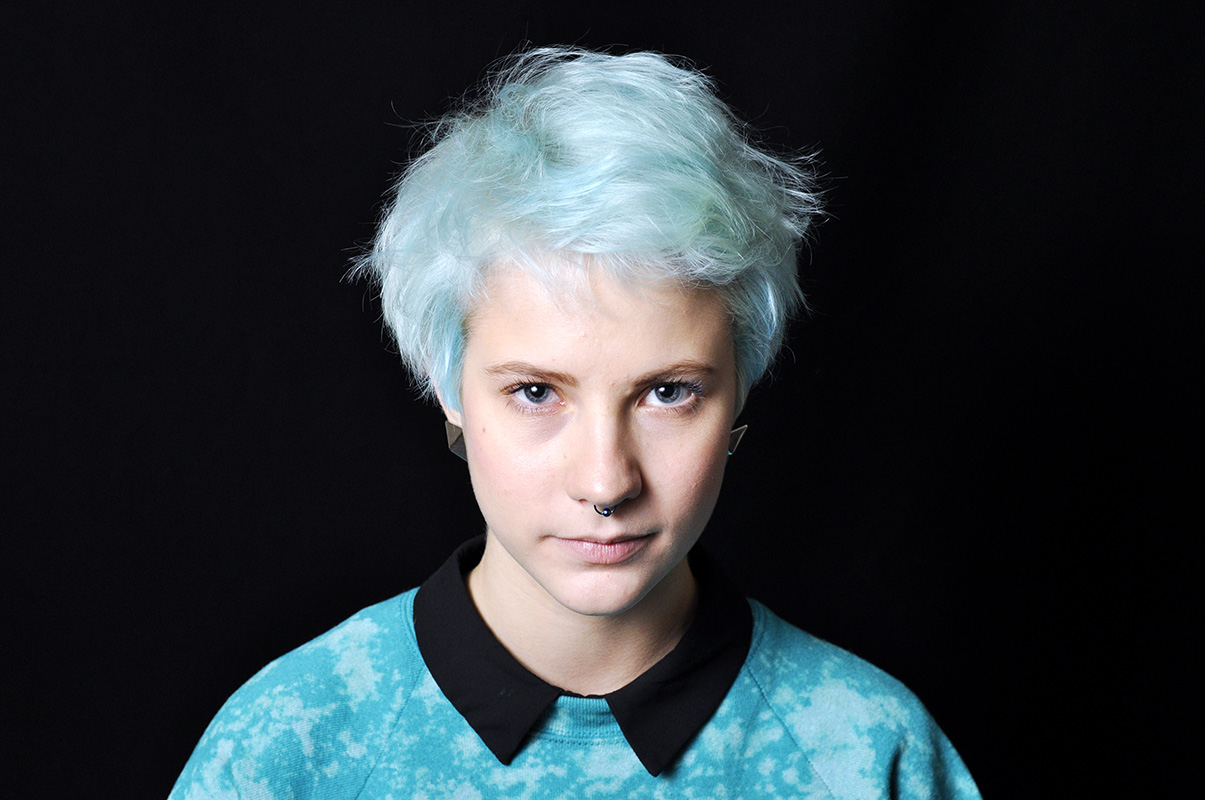
 Here’s Kate. This one was shot in digital.


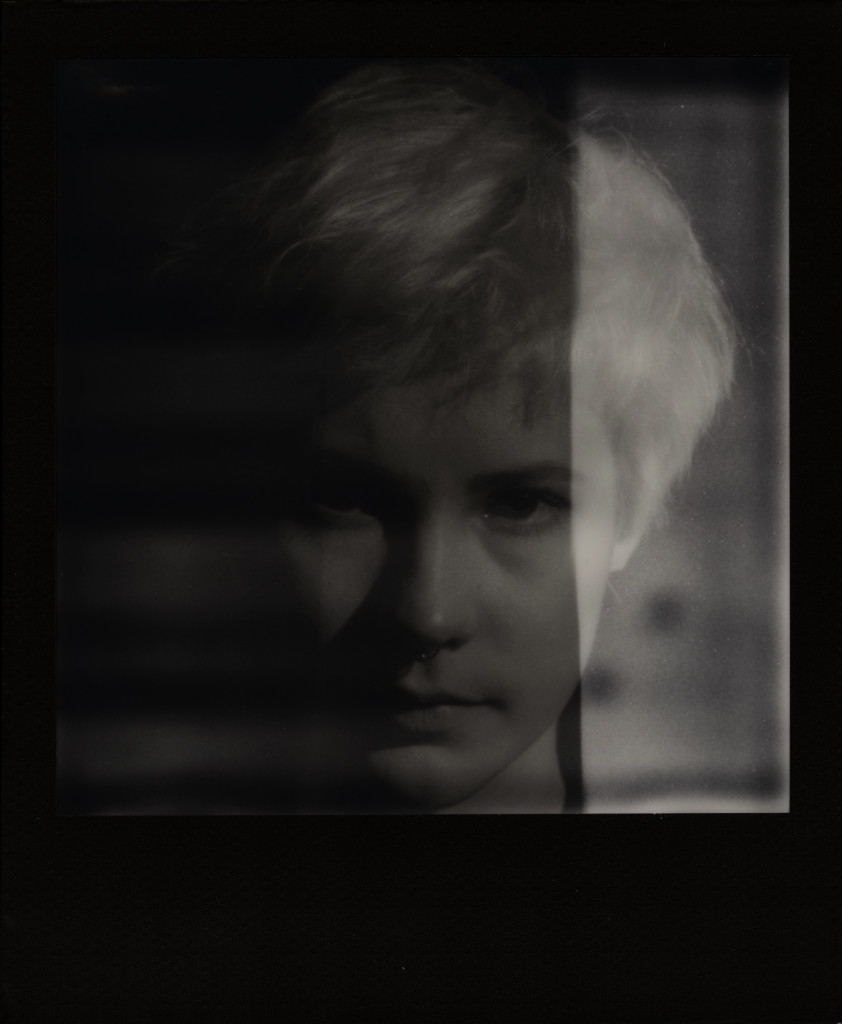
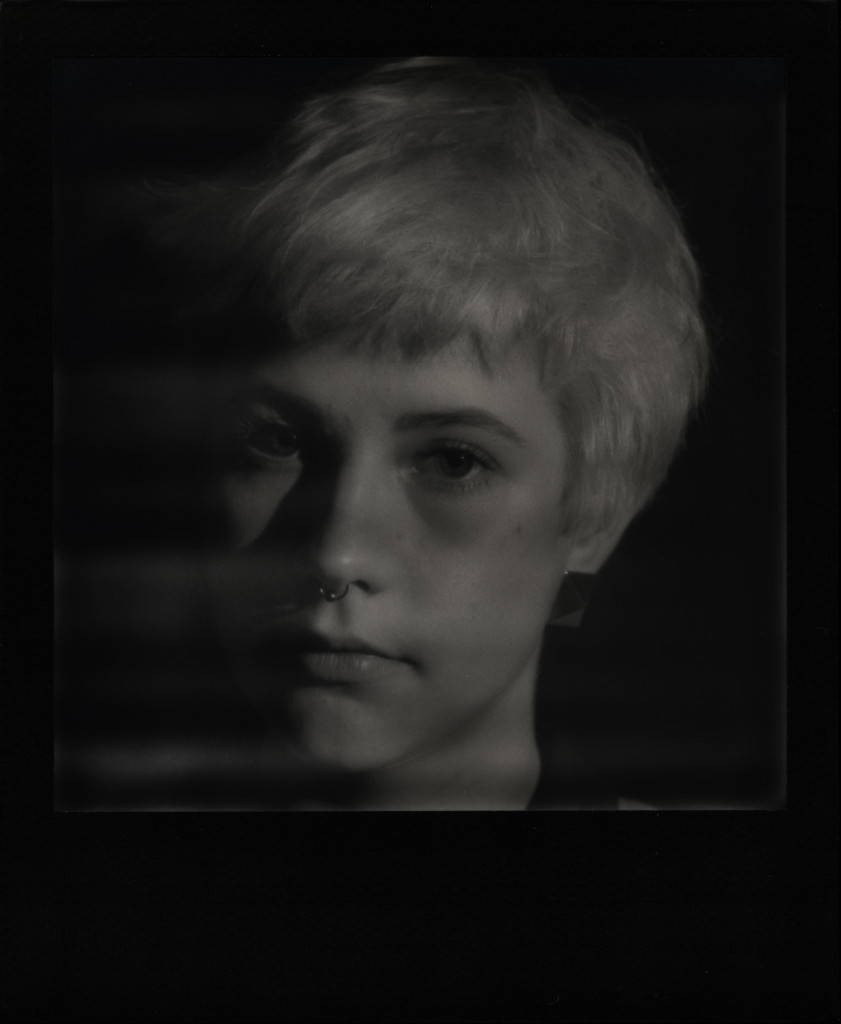
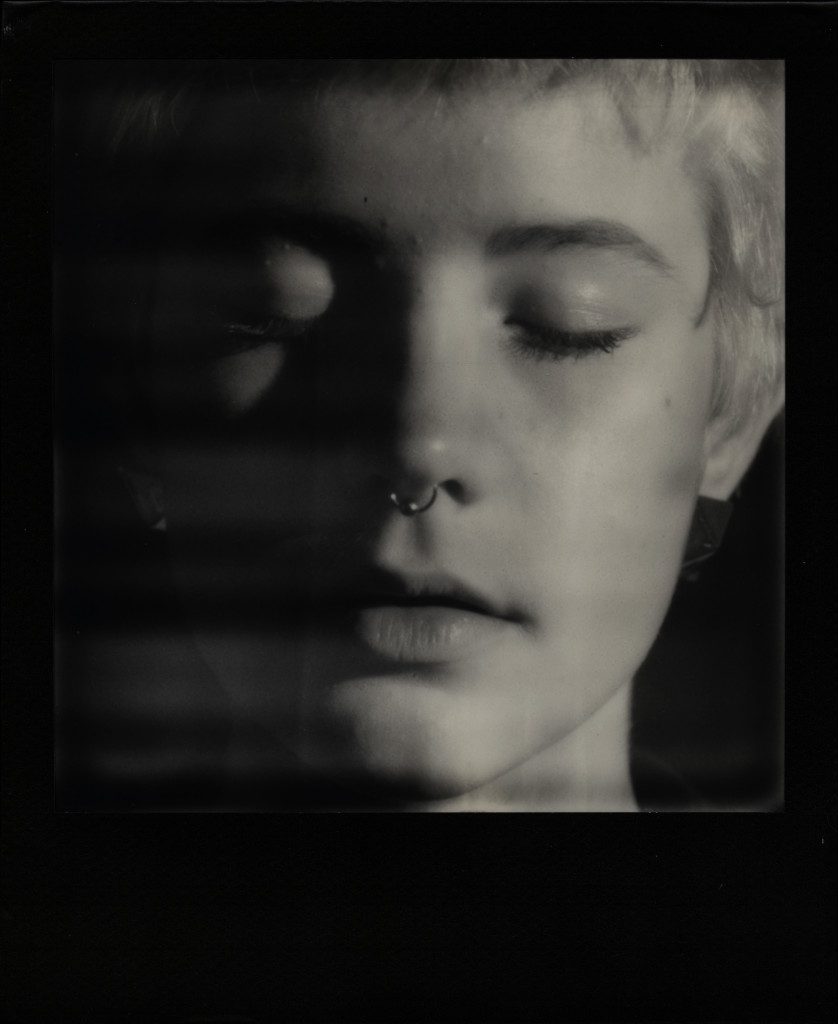
kate_600pp_004 kate_600pp_003 kate_600pp_002 kate_600pp_001
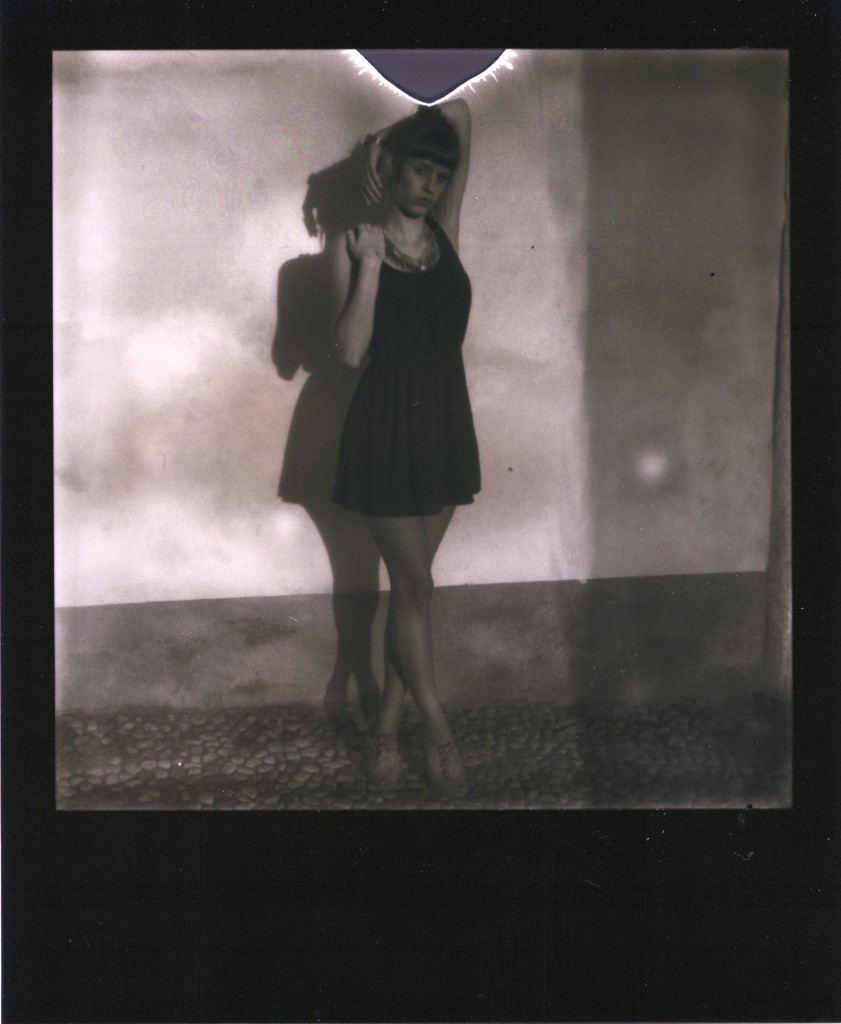
The last 4 pictures are shot on Impossible PX600 Black Frame Poor Pod. They were sold under priced two years ago because of their “poor pod” defect. It explains the uneven development streaks.


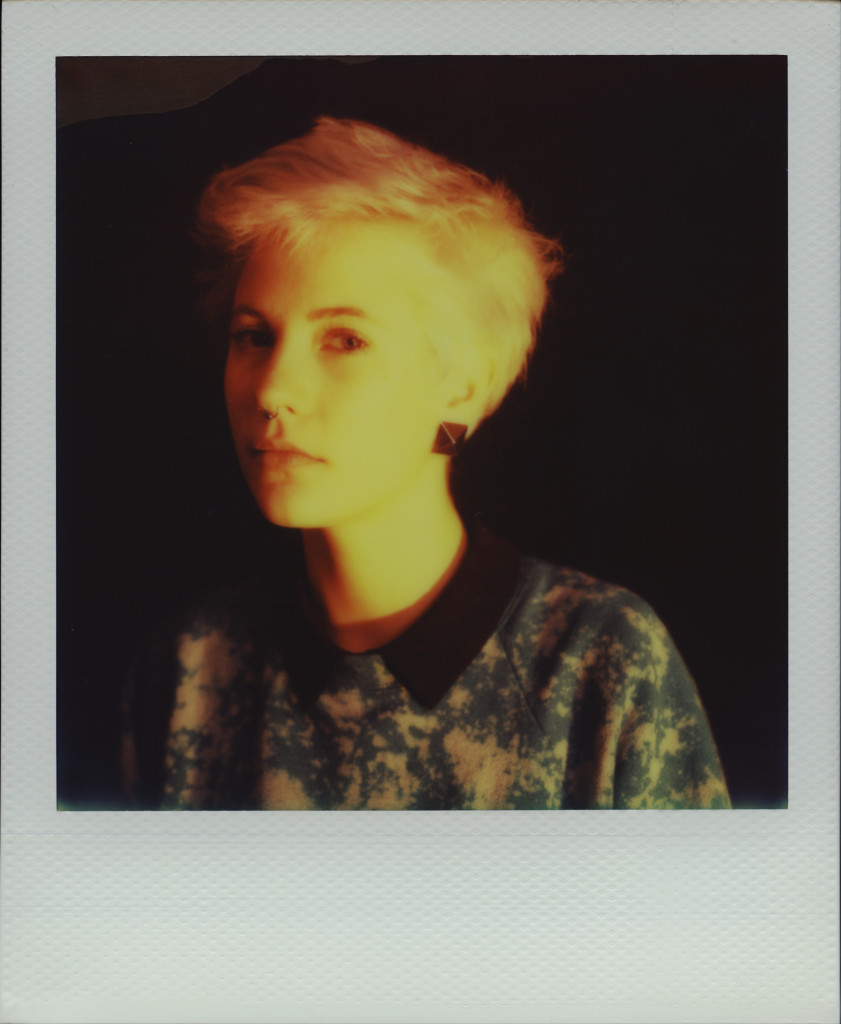
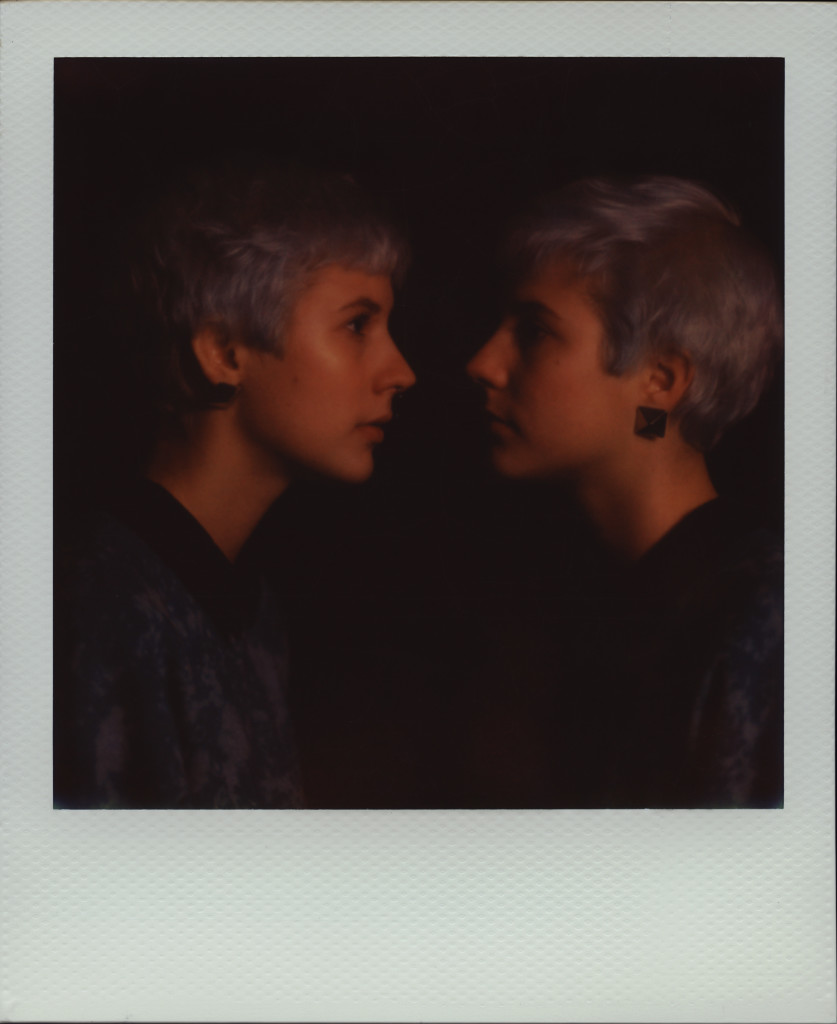
It seems that I got 3 underexposed shots, which I managed to correct for the fourth. The good thing with instant black and white film is that it develops pretty quickly so you can guess its ISO value and correct your settings before the next shot. I wanted to try a different lens that I got which is shorter, a SK 210mm f5.6 Symmar – Sinar DB lens. Sadly I do not have any control over the aperture, because there is a lever that has to be manipulated from the inside and so I guess I’d need a different shutter or something, so I can only use it at full aperture. But still, I wanted to try it and I really appreciated the wider framing it allowed. I shot 2 pictures with that lens on Impossible 600 color film. I assume it is slightly more sensitive than the indicated ISO 640.


kate_600c_001

First color shot, a bit overexposed.
kate_600c_002
An underexposed double exposure. Too bad I reduced the aperture that much.


I can tell I’m glad with these first results. I didn’t really experimented that much here but I got some information to think about. In terms of sharpness and control I see a big gap if compared to regular polaroid cameras. Being able to do multiple and long exposures with full control is no little thing here. I can also tell that my light meter works good and is really helpful when shooting film, especially when using flashes. The 360mm is good for closeups in that little space I had, but given one or two other meters of distance between camera and subject it can work perfectly for classic portraiture, and normally any studio has enough space for that.

The only bad thing is about the workflow. Shooting this way is extremely slow as you have to prepare every single film and develop it in a second moment. You are most likely constrained into indoor studio shoots since you need total darkness to develop the pictures, but if you really want to get outdoor it is not really a big problem. It takes some times between the setting of the frame and pose and the moment you can shoot, so if you shoot an animated subject you have to be really sure that it doesn’t move and doesn’t change expression. About the latter, it‘s really hard to understand if your subject is really ok by seeing it upside down. I guess it’s about getting used to this kind of view but for the moment it is really hard to me.

Next time I’m going to try to take advantage of control to take long exposures and tilt and shift, I’ll probably try to shoot outdoor. Stay tuned for more and comment if you want to know more or if you have suggestions.

Sinar Norma First B/W Test

In a recent post I wrote about my new Sinar Norma which introduces me into large format photography, but at the time I only shot on 4×5″ instant film and on Impossible 600 film. I finally got two packs of traditional sheet film for it and during last weekend I did a few test shots on Ilford HP5+ 400 black and white film. I also bought a 4×5 film reel for my Jobo tank so I will be able to develop color film sheets as well in the future.

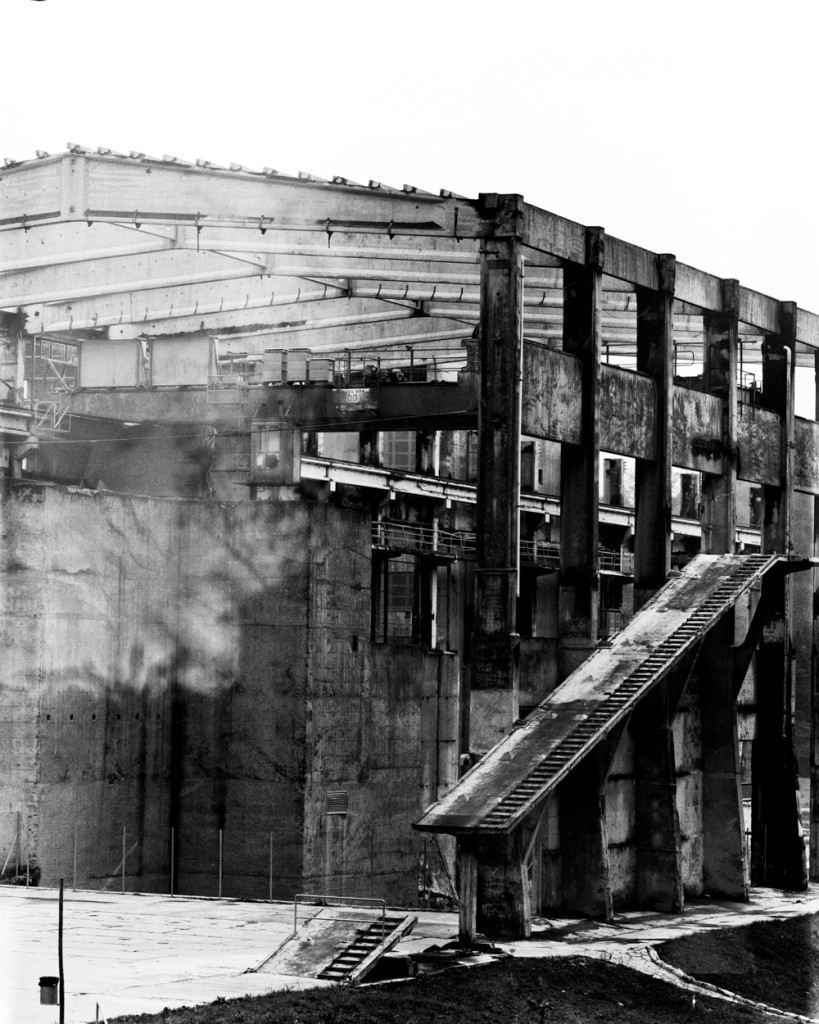
Saturday I went out looking for some building to photograph but apparently with my only 360mm lens it’s all but easy. I went to a big, half abandoned factory and I couldn’t get enough distance to get it all in panoramic format, so I decided to go with a vertical cut.

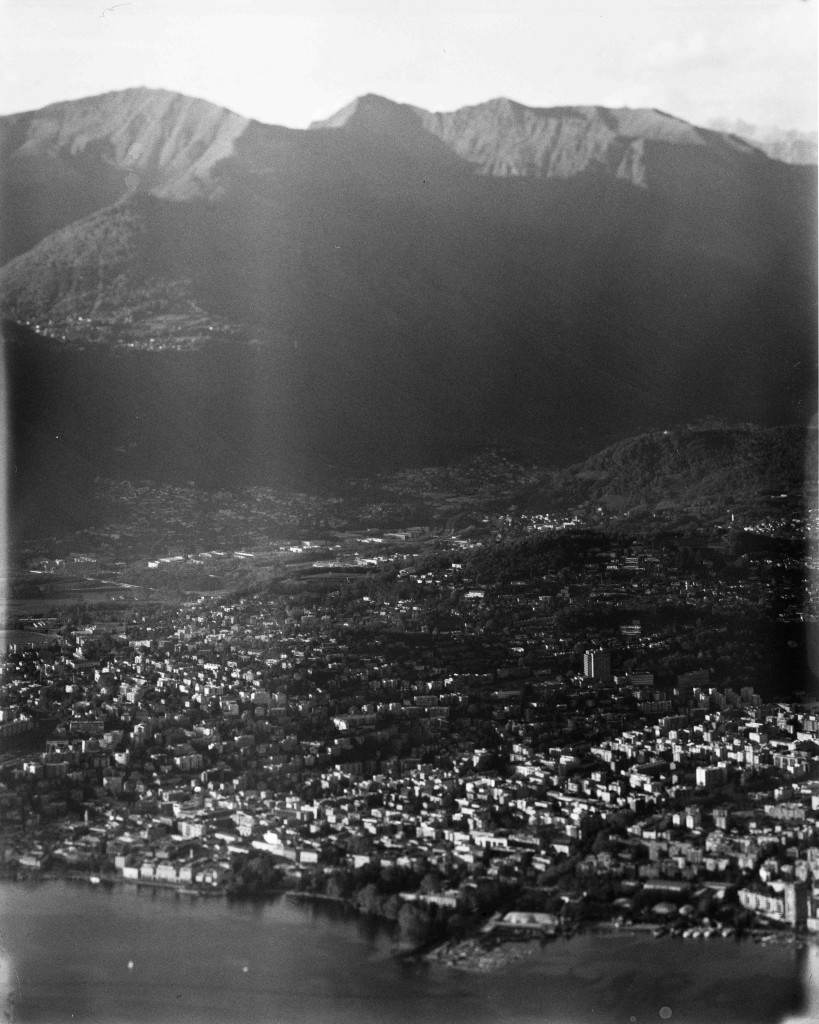
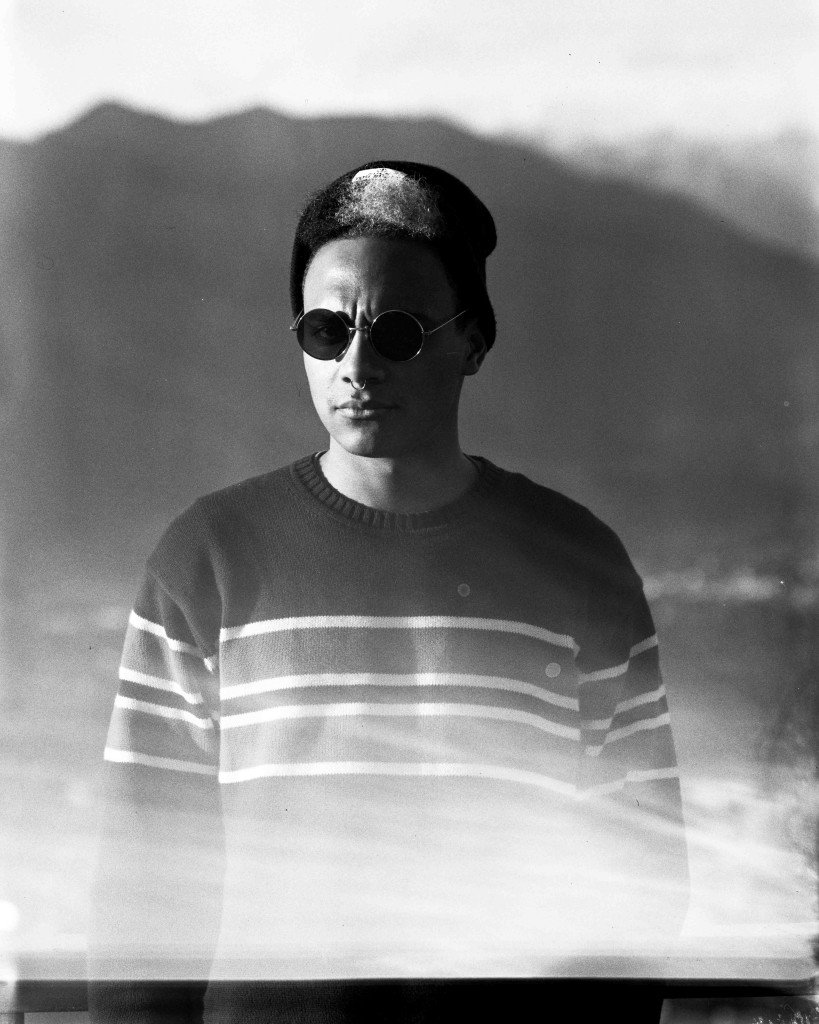
On sunday there was sunny weather and so I though I could try shooting some landscape. A friend of mine took me to Sighignola (Italy) which is pretty high over Lugano Lake from were you can get about 270° view of Switzerland and Italy. I took some pictures on HP5+ film but I was concerned about aerial perspective which afterwards came out to be an issue. I had a Skylight UV filter but it couldn’t help enough to get good contrast, so I had to level the image a lot in digital post production with a loss of details. I’m curious to contact print it in darkroom to see how it turns out. I shot each picture two times with different speed to test again how the accurate the exposure index of a DSLR results with this field camera, as I still don’t understand how to calculate loss of light due to long bellow extension, if there is even any. I also tried to do some tilt and shift but it didn’t came out very clear. After some shot me and my friend took a picture of each other so I could also figure out if the lens is ok for portraits as well.

Later that day I went in my darkroom to develop the film in my Jobo tank, almost everything went alright except for two film sheet that got in contact because I loaded them in the same track of the reel by mistake, so one film in particular (my portrait obviously) has an uneven development as you will notice below. Next tests will be shot in studio with flashlights.


In un post recente ho scritto riguardo alla mia nuova Sinar Norma con la quale entro nel mondo della fotografia grande formato, ma al tempo dell’’articolo avevo scattato solo su pellicola istantanea 4×5 pollici e su pellicola Impossible 600. Finalmente ho preso due pacchi di pellicola piana tradizionale e il weekend scorso ho fatto alcuni scatti di prova su pellicola bianco e nero Ilford HP5+ 400. Ho anche acquistato una spirale per pellicole piane 4×5 per la mia tanica Jobo così da poter sviluppare le pellicole da me, in futuro anche a colori.

Sabato sono andato a cercare qualche edificio da fotografare ma pare che con la mia unica lente con lunghezza focale di 360mm sia tutt’altro che facile. Sono andato presso una grande fabbrica semi abbandonata e non c’era verso di andare abbastanza lontano da inquadrarla interamente in formato panoramico e così ho deciso di tagliarla in un’inquadratura verticale.

Domenica c’era bel tempo e ho pensato di provare a scattare qualche paesaggio. Un mo amico mi ha portato a Sighignola (Italia) che è in alto sopra il lago di Lugano, da dove si ha una panoramica di oltre 270° su Svizzera e Italia. Ho scattato alcune foto con la pellicola HP5+ ma ero preoccupato della prospettiva aerea a quelle distanze e che in effetti poi si è rivelato un problema. Avevo un filtro Skylight UV ma non era sufficiente per recuperare un buon contrasto, così ho dovuto tirare molto i livelli in post produzione digitale perdendo dei dettagli. Sono curioso di sviluppare delle stampe a contatto in camera oscura per vedere cosa si riesce ad ottenere. Ho scattato ogni foto più volte a velocità differenti per testare nuovamente quanto sia affidabile l’indice di esposizione registrato con una DSLR con le impostazioni di questo banco ottico siccome non ho ancora ben capito come calcolare la perdita di luce dovuta all’estensione del soffietto, sempre che ci sia una perdita. Ho anche provato a fare del “tilt and shift” ma non è venuto molto evidente. Dopo qualche scatto io e il mio amico ci siamo fatti una foto a vicenda così da capire anche se la lente si presta anche per ritratti.

Più tardi nella stessa giornata sono andato in camera oscura a sviluppare le pellicole nella mia tanica Jobo, è andato quasi tutto bene tranne il fatto che due pellicole si sono parzialmente sovrapposte e entrate in contatto perché per errore le ho fatte scorrere su un binario comune, quindi una pallicola in particolare (il mio ritratto ovviamente) ha subito uno sviluppo eterogeneo come noterete nella foto sotto. I prossimi test saranno scattati in studio con dei flash.


hp5_007hp5_006hp5_005hp5_004

Ilford HP5+ 400 4×5″
Sinar Norma
Rodenstock APO-Ronar 360mm

Agfa Billy-Record first tests

Agfa Billy-Record

After almost two years I got developed two film rolls shot with a very old camera I barely used.

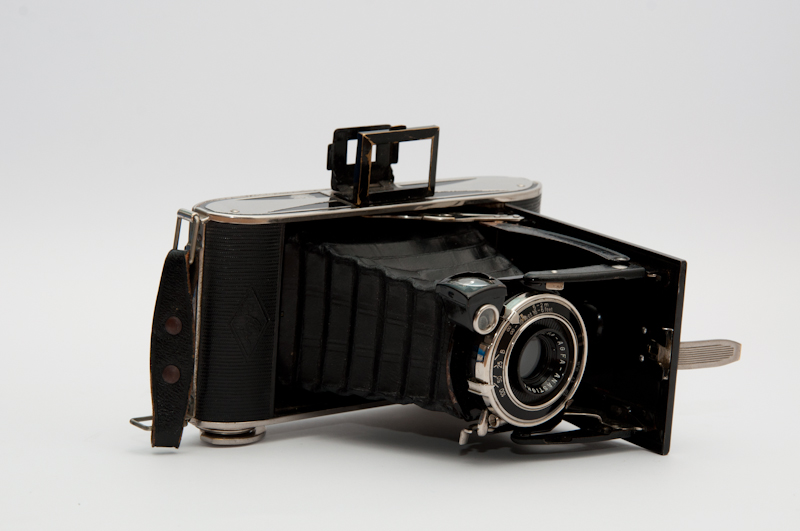
I’m talking about an Agfa Billy Record 8.8, I posses a model that seem to be in production from 1933 to 1942. I got this camera from a flea market in Mendrisio for something about 15$ if I do remember right. I just wanted it to be part of my collection but one day at home I kind of analyzed the camera and noticed that the lens is in perfect condition, the shutter seemed working fine and I didn’t notice any hole in the bellows. Its speed settings are 1/100, 1/50, 1/25 and Bulb, not a lot of choice. You  can switch the focus from 2-5 meters to 5-infinity. Its aperture setting are everywhere between f/8.8 and f/16. That’s not even a full stop of difference! I immediately understood that before shooting with this camera it’s better to choose wisely the ISO rate of the film you are going to use based upon the weather/light condition. But what makes this camera very interesting to me is its format. It shoots on 120 film with a 6×9 frame. Nice! I only shot 6×6 frames before and I was really curious to look at some panoramic medium format scans. I thought it would be fun to shot with it and so I decided try it with some expired film. Now I cannot really judge the quality though since I used expired film and had troubles with the exposure. Now that I finally see the results I’m pretty sure this camera will come handy for future projects. The only thing I noticed is that in many pictures there a lighter stripe in the upper part and I suppose that this is due to the little window on the back where you read the frame number, I probably left it open for too long by mistake.

Some test picture follows:


Dopo quasi due anni ho fatto sviluppare due rullini scattati con un apparecchio molto vecchio e che ho usato a malapena.

Si tratta di un Agfa Billy Record 8.8, ne possiedo un modello che sembra essere stato in produzione dal 1933 al 1942. Ho preso questo apparecchio a un mercato delle pulci a Mendrisio per qualcosacome 15 franchi se ben ricordo. La volevo solo come parte della mia collezione ma un giorno gli ho dato un’occhiata e ho notato che la lente è in condizioni perfette, l’otturatore sembrava funzionare bene e non ho notato nessun buco nel soffietto. Le impostazioni di velocità di otturazione sono 1/100, 1/50, 1/25 e Bulb, non una vasta scelta. La messa a fuoco è impostabile da 2 a 5 metri da 5 metri a infinito. L’apertura è impostabile da f/8.8 a f/16. Non c’è nemmeno un interno stop di differenza! Ho capito subito che prima di scattare con questo apparecchio è meglio scegliere saggiamente che sensibilità ISO deve avere la pellicola basandosi su condizioni meteo e di luci. Ma ciò che rende questo apparecchio interessante per me è il suo formato. Scatta su rullini 120 in cornici da 6×9. Bello! Prima di allora avevo solo scattato cornici da 6×6 ed ero davvero curioso di vedere delle scansioni di immagini panoramiche in medio formato. Ho pensato che sarebbe stato divertente scattare e allora ho deciso di provare con alcuni rullini scaduti. Ora non posso giudicare davvero la qualità proprio perché le pellicole erano scadute e ho anche fatto pasticci di esposizione. Ora che finalmente vedo i risultati sono sicuro che questa macchina mi tornerà utile per qualche progetto futuro. L’unico difetto che ho osservato è che in diverse foto c’è una fascia dove l’immagine è più chiara, immagino che sia a causa della finestrella dove leggere il numero della cornice che devo inavvertitamente aver lasciato aperto per troppo a lungo.

Seguono alcune foto di prova:


agfa_006 agfa_008 agfa_004 agfa_005

Got a Sinar Norma 4×5 Large format camera

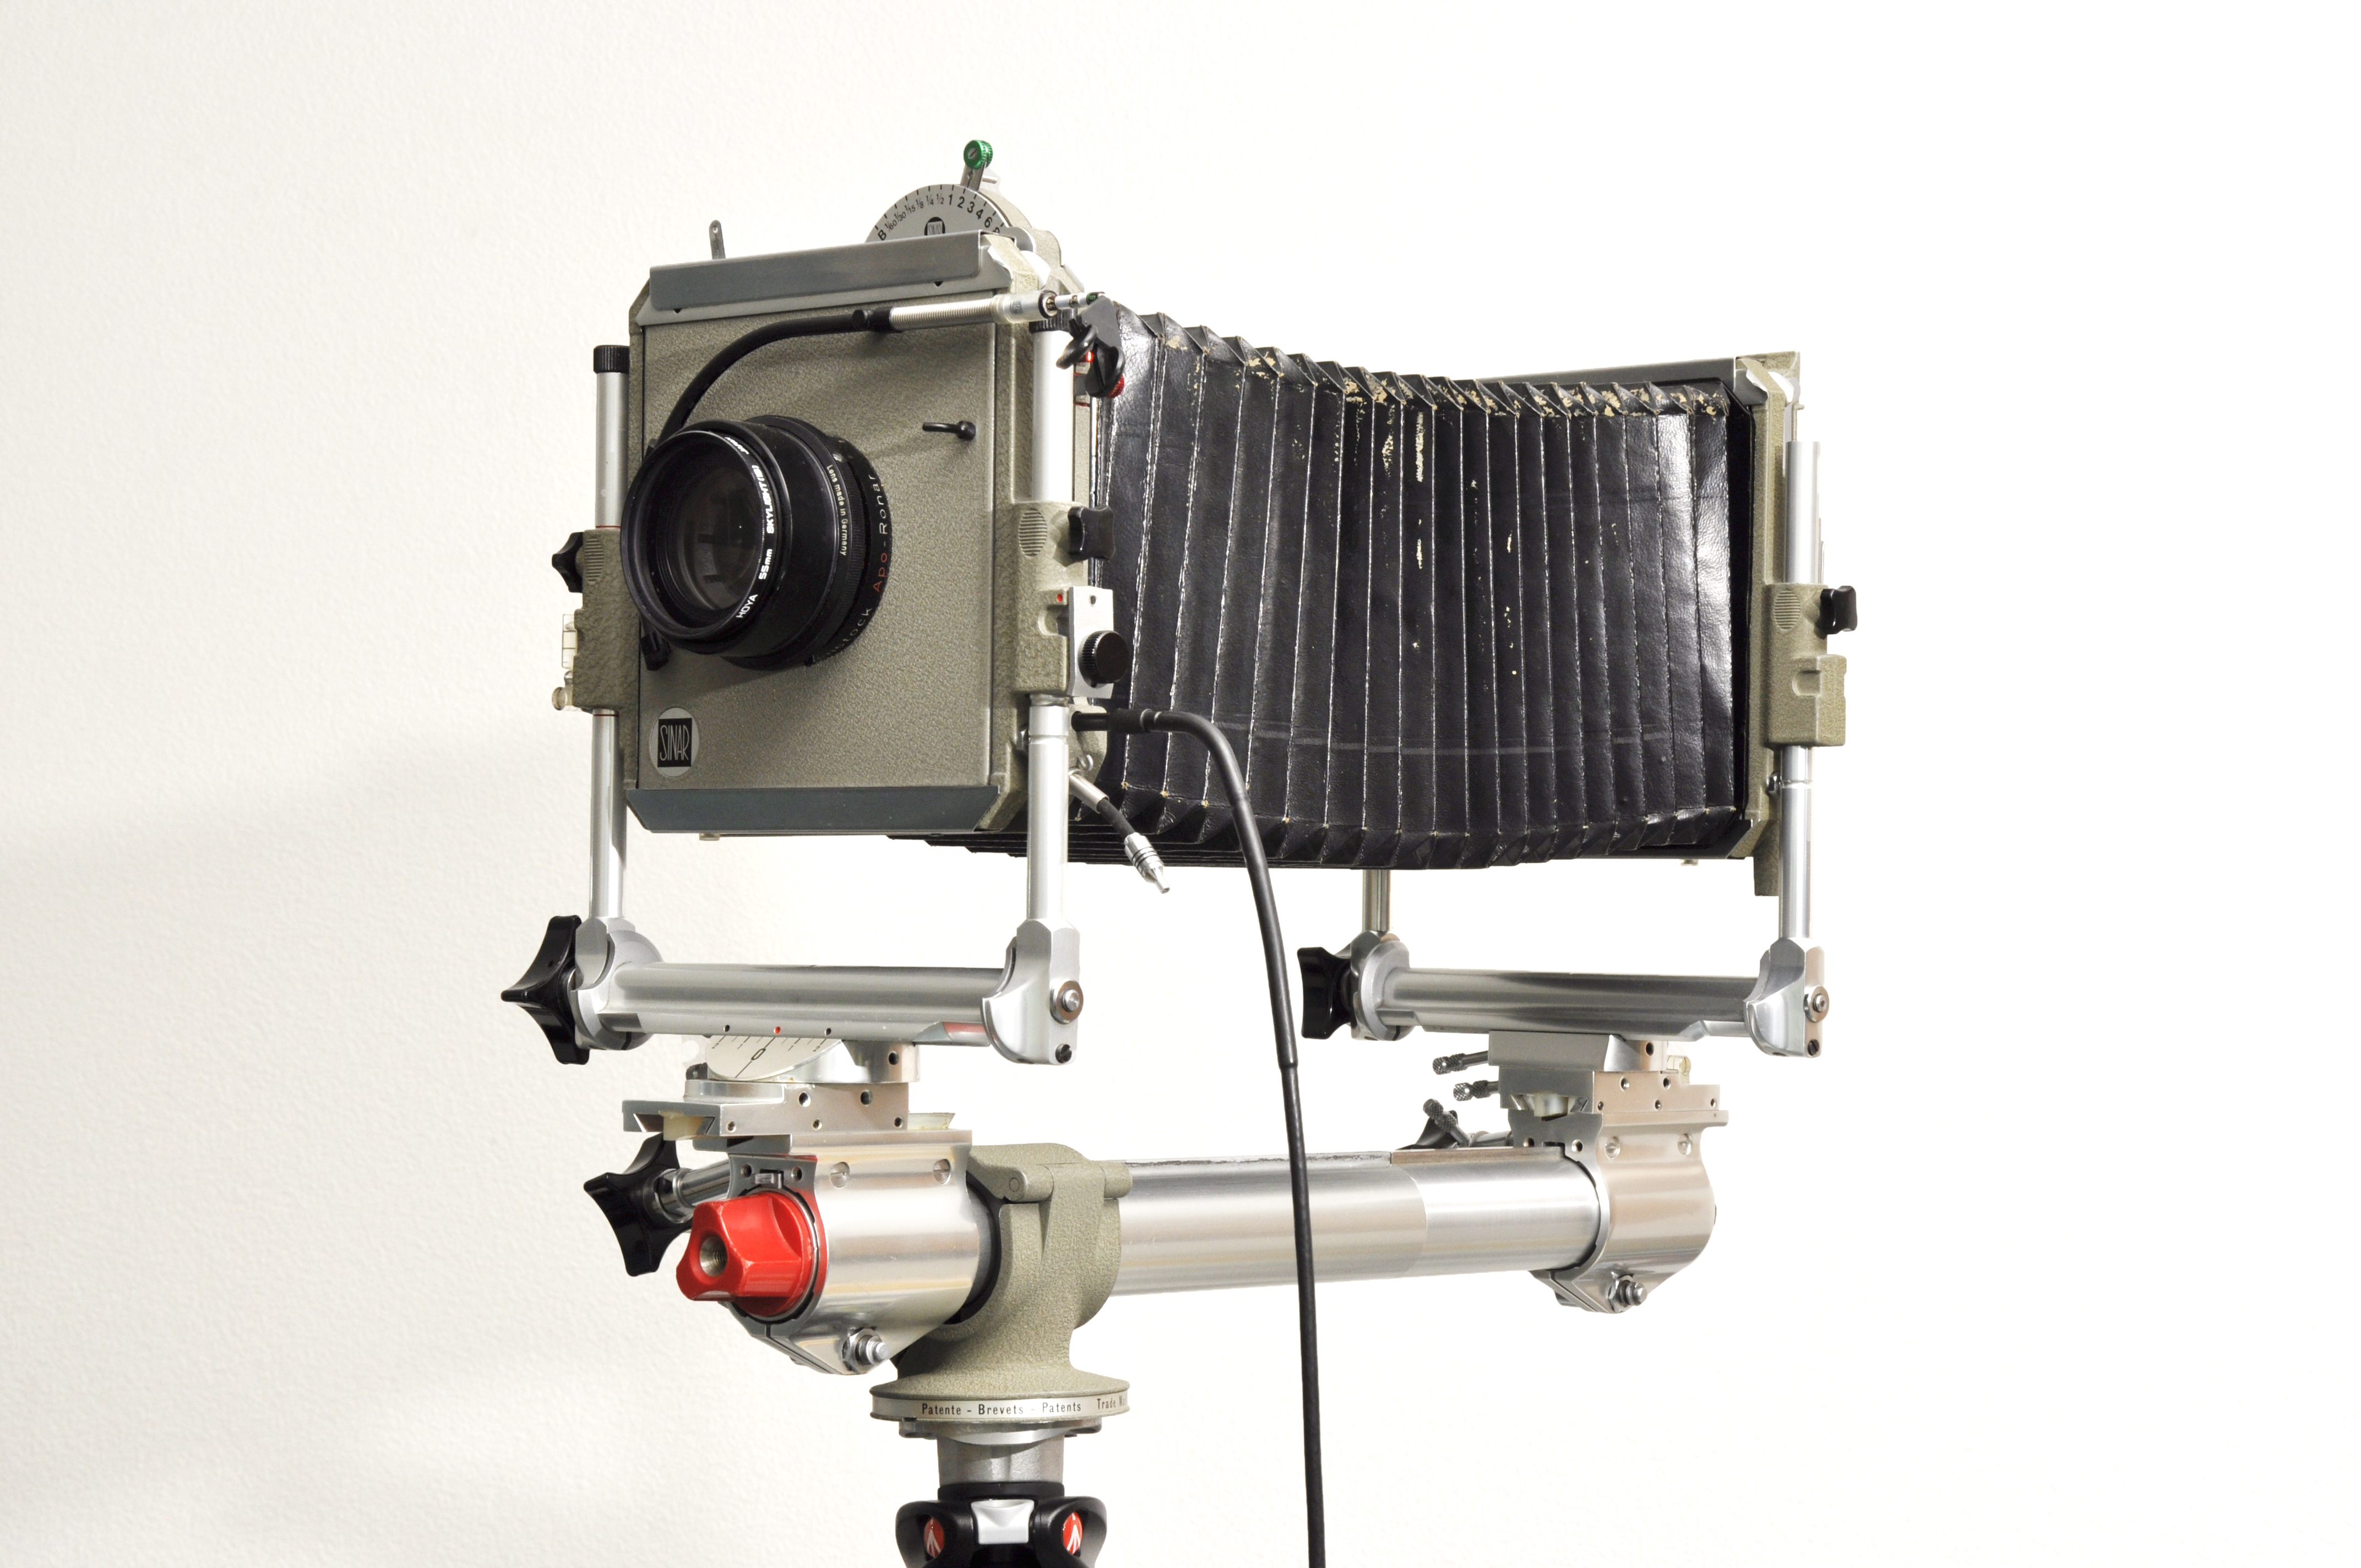
Months ago I became a proud owner of a Sinar 4×5″ camera. I found it for a reasonable price on an auction complete with bellows, front, back, tripod mount and tubes, and the same seller made me a good price for a Rodenstock APO-Ronar 360mm f/9 lens. In other words the camera came complete with everything I needed for shooting with it, included 4 film holders. But wait, something was missing. I didn’t know that the Copal shutter came separately and the lens I bought didn’t have a shutter itself. After doing little research I understood that to make the lenses cheaper they were mostly manufactured without shutter, which is pretty logical now but for some reason I was sure that lenses for large format photography were only made with the shutter. So, it took a few months to find the shutter at decent price, I looked in many shops, contacted Sinar where they suggested me their $900+ electronic shutter and went out in photo markets but it was hard to find anything. Then I surrended and searched on eBay where I found one for a good price. It seems to be working great exept the fact there is something wrong with the flash sync cable, which sucks.

Before getting expensive 4×5 film I wanted to excercise and test the lens and shutter with immediate results, so I bought a really cheap Polaroid 4×5 film holder. I don’t really know anything about large format photography in practice, and the first matter I wanted to solve was about the exposure. The plan was to check the exposure with a DSLR and use the same settings on the Sinar and see how the picture come out. The hard part was finding some Fuji FP-100C45 instant film that at the time seemed to be out of stock and out of production, I could only find it in Japan for a pretty high price, but it was worth the try.

The very first tries were a big failure, I didn’t know how to use the film holder without getting light leaks, and the light condition were awful, but lately things are getting better. Now I only need to buy sheet film and do something real. I also did some tests on The Impossible Project instant film and the results are not bad at all, this might be a good solution for studio photography on instant film, combing the magic of instant film with the sharpness and quality of a good lens, manual time and aperture settings, multiple flashes and more complex and complete way of framing. I’ll post some of these test soon, after trying to shoot on color film too.


Mesi fa sono diventato fiero proprietario di un banco ottico Sinar 4×5″. L’ho trovata per un prezzo ragionevole all’asta completo di soffietto, porta lenti anteriore, dorso, adattatore per cavalletto e bracci di estensione, e lo stesso venditore mi ha fatto un buon prezzo per una lente Rodenstock APO-Ronar 360mm f/9. In altre parole il banco ottico era completo di tutto quel che serve per iniziare a scattare, compresi quattro porta pellicole. Ma un momento, mancava qualcosa. Non sapevo che l’otturatore è venduto separatamente e che la lente che ho acquistato non ha l’otturatore interno. Dopo aver fatto un po’ di ricerca ho appreso che per minimizzare i prezzi delle lenti erano in gran parte costruite senza otturatore, cosa effettivamente logica ma per qualche ragione ero convinto che per questo genere di macchine fotografiche le lenti avessero tutte l’otturatore interno. Ci ho messo alcuni mesi a trovare un otturatore a un prezzo decente, ho cercato in vari negozi, contattato Sinar dove mi hanno proposto il loro nuovo otturatore elettronico da oltre 900 dollari e ho anche cercato in alcuni fotomercati ma era difficile trovare qualcosa. Alla fine mi sono arreso e ho cercato su eBay dove ne ho trovato uno a buon prezzo. Sembra funzionare correttamente a parte qualcosa che non va nel cavo sincro per il flash, il che è una noia.

Prima di procurarmi della costosa pellicola piana 4×5 volevo esercitarmi e testare lente e otturatore ottenendo risultati immediati, così ho comprato un porta Polaroid 4×5. Non me ne intendo per niente di fotografia grande formato e la prima questione che volevo risolvere riguardava l’esposizione. Il mio piano era di controllare l’esposizione con una DSLR e utilizzare le stesse impostazioni sulla Sinar e vedere il risultato. La parte difficile poi è stata trovare pellicola istantanea Fuji FP-100C45 che al momento della ricerca sembrava essere quasi introvabile e fuori produzione, sono riuscito a trovarla solo in Giappone a un prezzo piuttosto alto, ma valeva la pena fare un tentativo.

I primissimi tentativi sono stati un fallimento, non avevo idea di come utilizzare il porta pellicole senza ottenere infiltrazioni di luce, e le condizioni di luce erano pessime, ma in tentativi più recenti le cose sono andate meglio. Non mi resta che comprare delle pellicole piane e scattare qualcosa di serio. Ho anche fatto delle prove su pellicola istantanea The Impossible Project e i risultati non sono niente male, potrebbe essere una buona soluzione scattare foto in studio su pellicola istantanea, unendo la magia della fotografia istantanea con la nitidezza e qualità di una buona lente, impostazione manuale di tempo e diaframma, flash multipli e metodo di composizione più complesso e completo. Caricherò alcuni risultati di questi test presto, dopo aver fatto prove anche su pellicola a colori.

sinar normaMy mounted Sinar Norma


News coming kinda soon

Oh gosh,

I’ve been away from this blog for way too long now. A lot of things happened since the last time I updated it. I’ve spent 5 months in Lausanne for community service and meanwhile I took a lot of pictures, bought and tried new cameras and equipment and especially I bought some high-class hardware for post production and printing of analog and digital images. The funny thing is that somehow I couldn’t set them and use them quite properly, I kind of made a big pause from photography. Many projects shifted in time, including working on the layout of this blog and creating a new portfolio homepage with a dedicated shop.

Writing about my new equipment and projects in this post would be too much, so for the moment I’m just telling you that I’ll be posting some “late-news” in the next weeks, until I eventually catch up with current works.


Diamine,

sono stato lontano da questo blog troppo a lungo. Sono capitate un sacco di cose dall’ultima volta che l’ho aggiornato. Ho trascorso 5 mesi a Losanna per svolgere servizio civile e nel frattempo ho scattato parecchie foto, comprato e testato nuovi apparecchi foto e altro materiale e soprattutto ho comprato del materiale di alto livello per la post produzione e la stampa di immagini analogiche e digitali. La cosa buffa è che in qualche modo non ho ancora potuto utilizzare questo materiale a dovere, in un certo senso mi son preso una grande pausa dalla fotografia. Tanti progetti sono scivolati più in là nel tempo, compreso il rifacimento dell’aspetto di questo blog e la creazione di un nuovo sito portfolio con uno shop dedicato.

Scrivere delle novità e dei progetti in questo post sarebbe eccessivo, quindi per il momento voglio solo dirvi che nelle prossime settimane scriverò delle “vecchie novità” finché magari arriverò a parlare di lavori contemporanei.

Test shooting with Alek

Here are some of the photos I shoot one night of february with Aleksandra while testing some lights and flashes. It was a last-minute idea, just the time for the make up and we started playing with the cameras. The first Polaroid has been exhibited at the Milan’s Photoshow 2013 at The Impossible Project’s stand. There are many other photos from the set, but these are enough for this post.

Ecco alcune delle foto scattate in una notte di febbraio con Aleksandra facendo alcune prove con diverse luci e flash. È stata un’improvvisata, giusto il tempo per il trucco e abbiamo cominciato a scattare a raffica. La prima Polaroid è stata esposta al Milano Photoshow 2013 presso lo stand di The Impossible Project. Ci sono altre foto dello stesso set, ma per questo post queste sono abbastanza.


alek_px70cp_1 alek_px70cp_2 alek_px70cp_3 alek_px600pp_3 alek_px600pp_7 alek_px600pp_5

Bedroom Portraits Series: Giulia preview

I’ve been away from my blog for a while. I had issues with the wordpress CMS and didn’t really have time to fix it until now. I’ve done a bunch of stuff since my last post, but I’ll spread the news within the next few weeks. I think I told about the issues with my Rolleiflex SL66 which got stuck, I got it repaired in Milano now so I’m back on the tracks.

Here’s the usual preview of one of the series I’m working on, I’m looking forward to build a portfolio site where finally publish the final pictures. Thanks to Giulia for posing.


Sono stato assente dal blog per un po’. Ho avuto problemi con il CMS di wordpress e non ho proprio avuto tempo di sistemarlo fino ad ora. Ho fatto un po’ di cose dal mio ultimo post, ma distribuirò le novità nell’arco delle prossime settimane. Credo di aver detto dei problemi che ho avuto con la Rolleiflex SL66  che si era bloccata. L’ho fatta riparare a Milano e quindi sono tornato in pista.

Segue la solita anteprima di una delle serie a cui sto lavorando, ho intenzione di aprire un sito portfolio dove pubblicherò le immagini finali. Ringrazio Giulia per aver posato.


Giulia 1Giulia 2 Giulia 3 Giulia 4

Some London Pics and an Auction soon

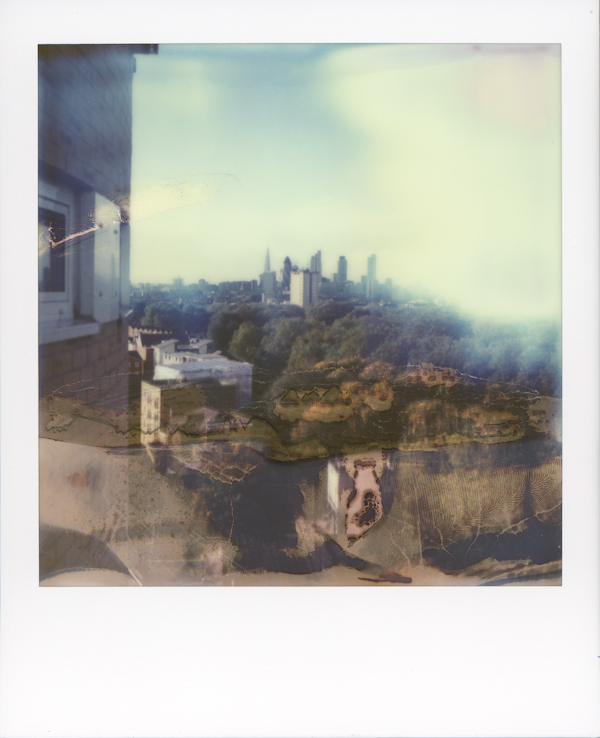
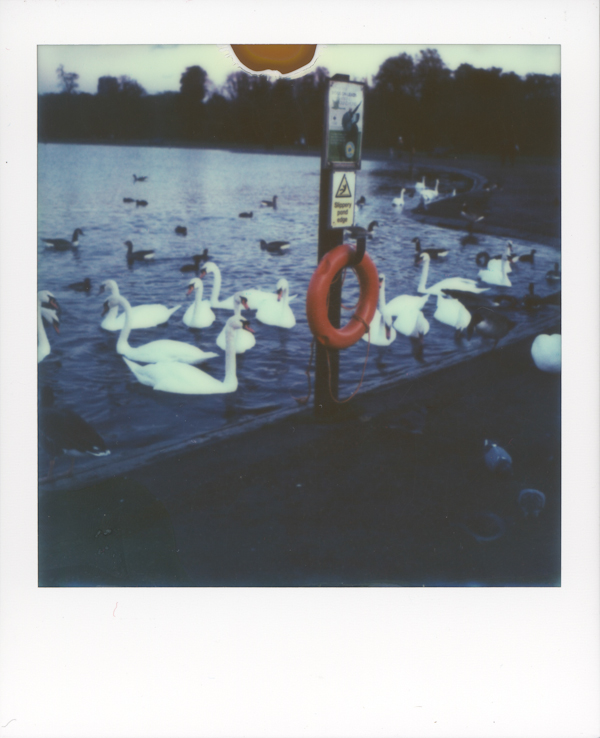
I’ve spent a week in London not long ago and I shot some roll of film and about a dozen of Polaroids. I’m still waiting for the films to get developed but  this week I’m busy in Lausanne for some stuff so I’ll be able to retrieve the photos only during the next week. As usual I am here to show you the Polaroid shots as preview of my staying in London. I tried for the first time the latest color formula by The Impossible Project (PX680 Color Protection) and I’m damn happy about the general result and someone is already going to buy a 50×50 cm print of my favorite one.

Ho trascorso una settimana a Londra poco tempo fa e ho scattato alcuni rullini e circa una dozzina di Polaroid. Sto ancora aspettando gli sviluppi dei rullini ma questa settimana sono a Losanna per degli impegni e potrò ritirare le fotografie solo settimana prossima. Come al solito voglio mostrarvi gli scatti Polaroid come anteprima della permanenza a Londra. Ho provato per la prima volta la nuova formula a colori di The Impossible Project (PX680 Color Protection) e sono felicissimo del risultato generale e qualcuno ha già intenzione di acquistare una stampa 50×50 cm della mia foto preferita.


The Impossible Project PX680 Color Protection
Polaroid SLR 680

I don’t remember if I already blogged about it, but I had some serious issues with my Rolleiflex SL66. I took it to a camera repairer in Milan who immediately found the problem, I can’t wait to have it back and shoot again with it.

On the 7th of december there’s a friendly art auction in Lugano. It’s the third they set up, I had the honor to sell my prints on both the first and the second time. If you are interested in it there is a facebook event for it, or you can contact me so I’ll hand you the contacts. Meet you there!

Non ricordo se ho già bloggato a riguardo, ma ho avuto dei problemi con la mia Rolleiflex SL66. L’ho portata da un foto riparatore a Milano che ha trovato subito il problema, non vedo l’ora di ritirarla e riprendere a usarla. 

Il 7 dicembre si terrà un’asta amichevole d’arte a Lugano. È la terza che viene organizzata, ho avuto il piacere di esporre e vendere le mie stampe nelle prime due edizioni. Se siete interessati c’è una pagina evento su facebook a riguardo, oppure potete contattarmi così vi passerò i contatti. Ci si vede là!


An afternoon with Aleksandra

Yesterday I had to meet with Aleksandra, a dear friend of mine, we didn’t se each other for a while. We also have procrastinated on some possible shooting for a long while, so it was the right time to solve both of the problems. I wasn’t sure of what kind of pictures we were going to take so I brought the crazy amount of 8 different camera to choose from later on location. We choose some outfits together and went in a nice place in Mendrisio (Switzerland). The weather was awesome, sunny with a light fog in the sky which smoothed the direct sunlight and the temperature was pretty hot for the period, so Aleksandra didn’t have to freeze. I tried an advanced –as compared to my Nikon D90 – digital camera, a Sony a77 which my sister uses for video recording and I was unusually happy with the results. I can’t wait to see how the shots on 35mm and 120 film will turn out! Here are 5 instants of the afternoon as a preview.

Ieri dovevo incontrarmi con Aleksandra,  una cara amica che non vedo da un po’. Stavamo anche rimandando l’intenzione di fare alcune foto da parecchio tempo, quindi era l’occasione giusta per risolvere entrambi i problemi. Non ero sicuro di che tipo di foto avremmo fatto e quindi mi sono portato dietro la bellezza di 8 macchine fotografiche diverse per scegliere quale usare sulla location. Abbiamo scelto l’abbigliamento insieme e poi ci siamo recati in un bel posto a Mendrisio (Svizzera). Il tempo era fantastico, soleggiato con una leggera foschia in cielo che ammorbidiva la luce diretta del sole e la temperatura era stranamente alta per questo periodo, così Aleksandra non è dovuta gelare. Ho provato una fotocamera digitale avanzata – se confrontata alla mia Nikon D90 – una Sony a77 che mia sorella usa per filmare ed ero insolitamente contento dei risultati. Non vedo l’ora di scoprire come sono venuti gli scatti su pellicola 35mm e 120! In anteprima ho 5 istantanee della giornata.


Aleksandra

Fuji FP-100C Silk
Polaroid Automatic 100


“Aleksandra” and “Zef Side”

The Impossible Project PX600 Black Frame Poor Pod UV+
Polaroid SLR680

Origami Cranes Lamp

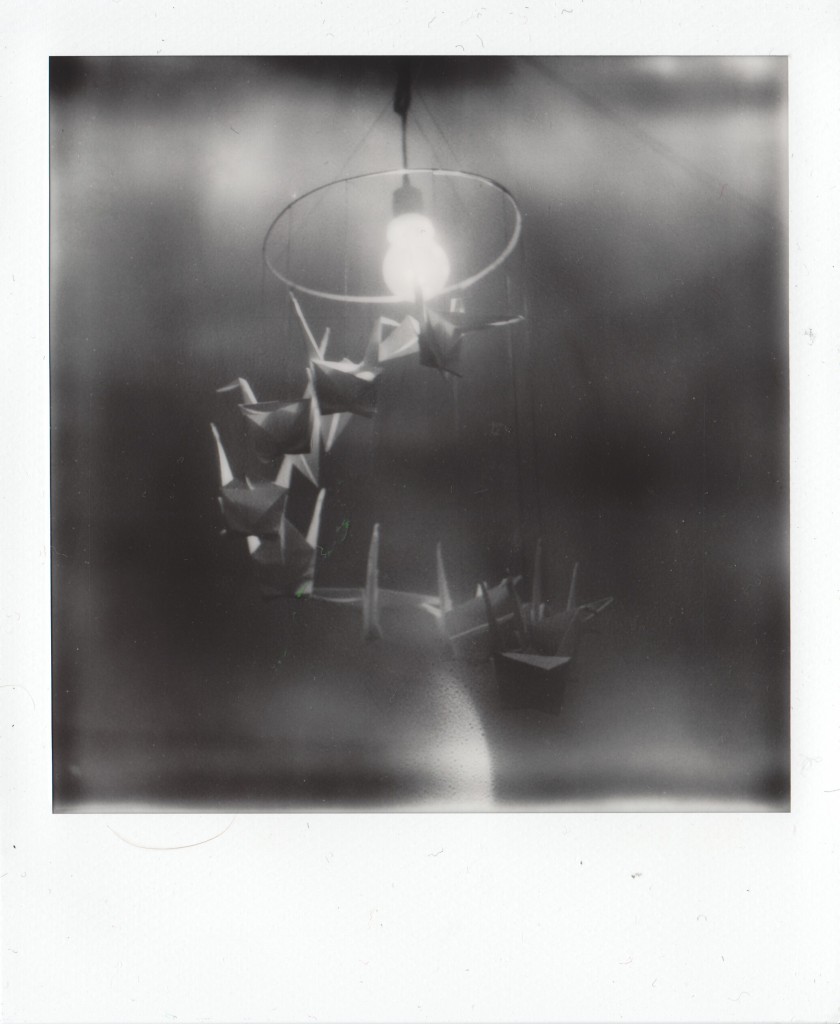
I am spending some time in Lausanne (Switzerland) and yesterday I helped a friend who lives here to fold 10 origami cranes to decorate her bedroom lamp. That was the most intense and creative part of the day. For the rest I am definitely chilling.

Sto passando un po’ di tempo a Losanna (Svizzera) e ieri ho aiutato un’amica che abita qui a piegare 10 gru origami per decorare la lampada di camera sua. È stato il momento più intenso e creativo della giornata. Per il resto sto decisamente nullegginado.

Origami

The Impossible Project PX100 Beta
Polaroid SX-70 Sonar Onestep