This post is about something I wanted to tell you about from a while. Fuji FP-100C at the moment is the only instant color film being produced for type 100 camera and similar. I shoot it with my Polaroid Automatic 100 and with my Rolleiflex SL66 with a Polaroid back, it gives perfect color matching if shot in sunlight and very sharp details. As a peel off film you get the positive print and the negative who is not supposed to be used as it is not transparent and is usually thrown away. On the web I found tutorials on how to bleach off the black matte stuff covering the back of the negative to make it transparent. That was intriguing both for darkroom printing purposes and for transparency scan. Here are the steps and the results of the process. This is not intended as a tutorial, ask google for that.
Questo post riguarda una cosa di cui volevo parlare da un po’. Le Fuji FP-100C al momento sono le uniche pellicole istantanee a colori ancora in produzione nel formato per macchine fotografiche type 100 e simili. Io le uso con la mia Polaroid Automatic 100 e con la Rolleiflex SL66 montante un dorso Polaroid, ha una perfetta resa dei colori se utilizzata alla luce del sole e dettagli nitidi. È una pellicola di tipo peel-off, quindi da una parte ottieni la stampa positiva della fotografia e dall’altra hai il negativo che non è inteso per essere utilizzato poiché non è trasparente e in genere viene gettato via. Sul web ho trovato tutorial su come candegginare via la superficie nera opaca sul retro del negativo, rendendolo così trasparente. L’ho trovato intrigante per farne un uso in camera oscura e per scansioni in trasparenza. Ecco i passaggi e il risultato del processo. Questo non è inteso come tutorial, quelli cercateli su google.
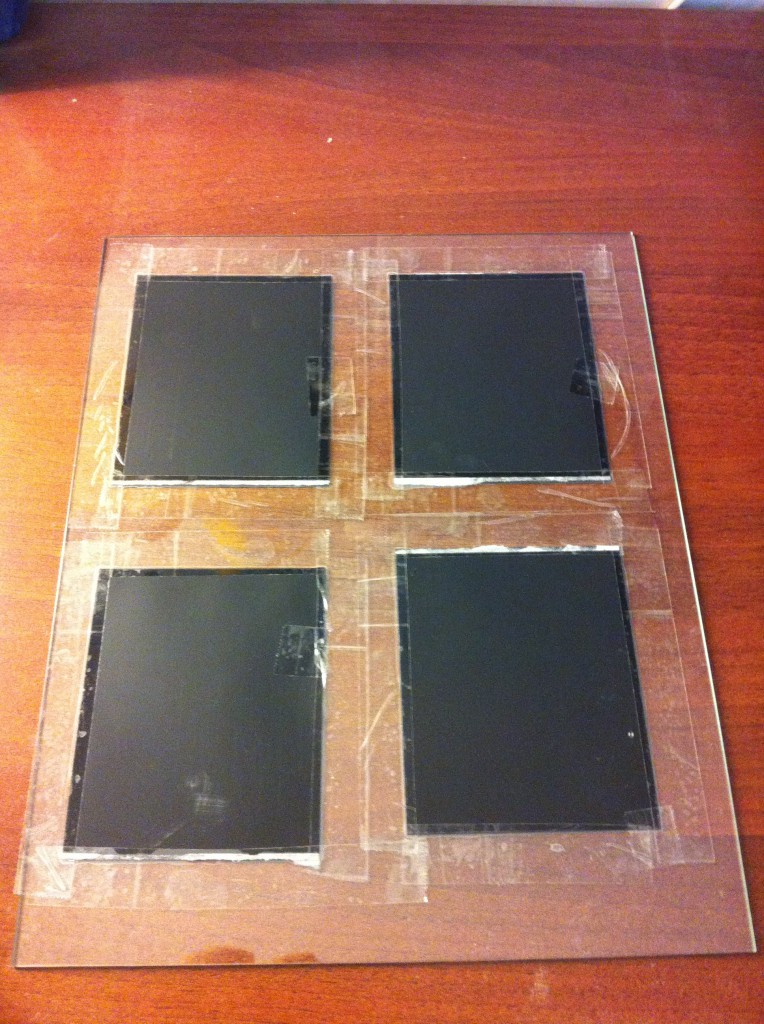
Step 1 – stick the negs on a glass or similar with adhesive tape, and be sure to stick it well so the bleach doesn’t ruin the emulsion on the other side.
Primo passo – si appiccicano i negativi su un vetro con del nastro adesivo, curandosi di attaccarlo bene per evitare che la candeggina si infiltri e rovini l’emulsione sull’altro lato.
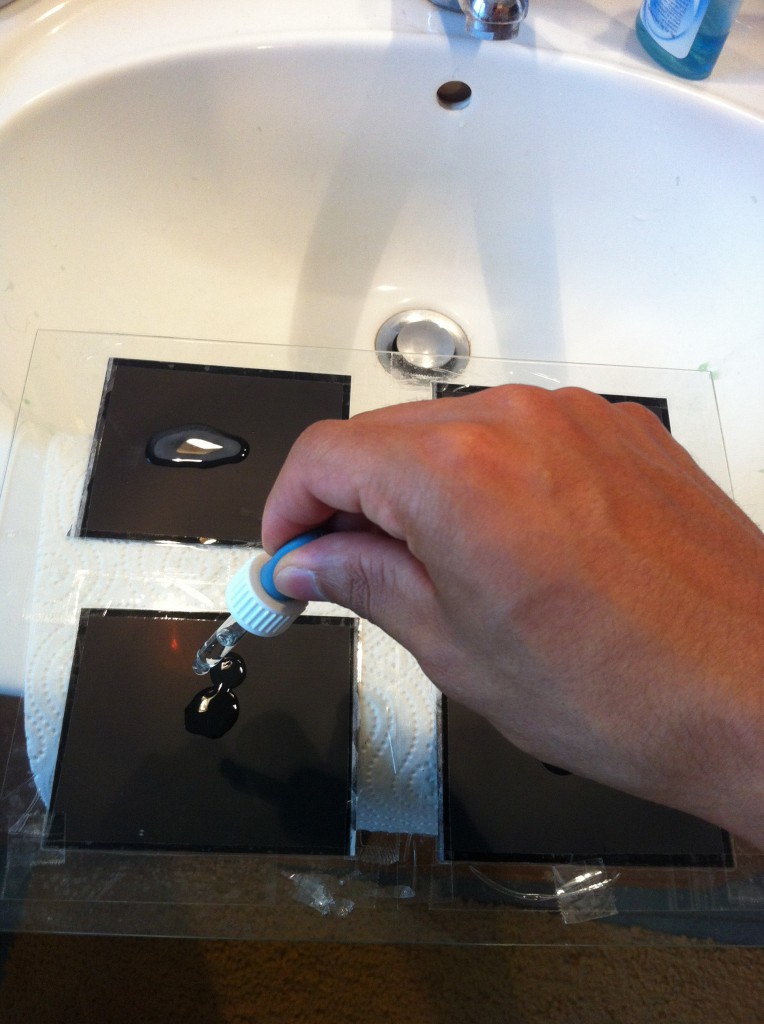
Step 2 – Put some drops of bleach and water on the negatives and let it stay for several seconds, then wash it off with a smooth cloth.
Secondo passo – Bisogna mettere alcune gocce di candeggina e acqua sui negativi e lasciare agire per diversi secondi, poi si lava il tutto con un panno morbido.
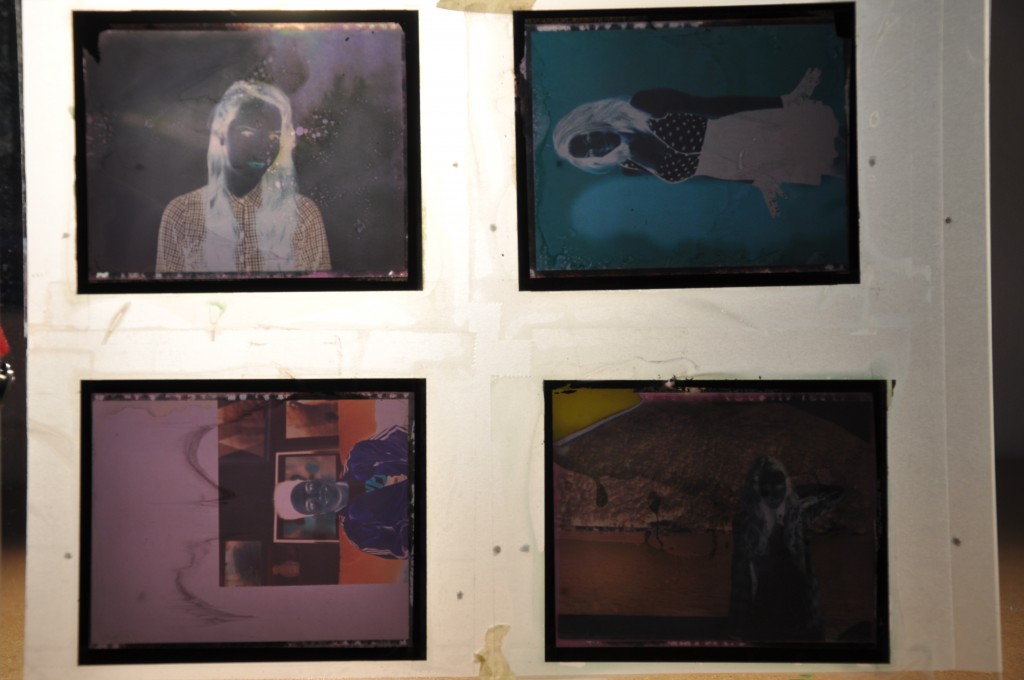
Step 3 – This is how they look in the end. Probably I didn’t clean them up properly but it’s fine to me, it will give particular effects to the scans.
Terzo passo – Questo è come appaiono in negativi retroilluminati. Probabilmente non li ho lavati come si deve ma mi sta bene, darà effetti particolari alle scansioni.
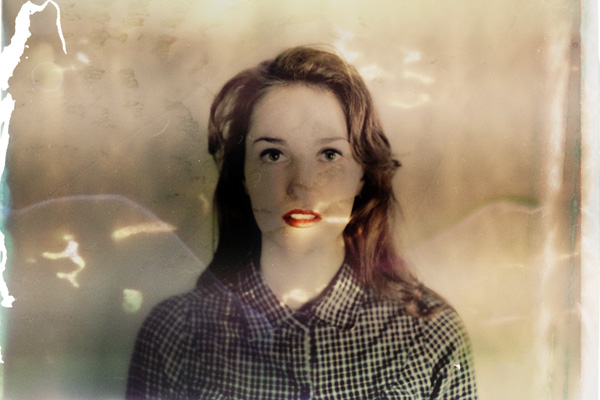
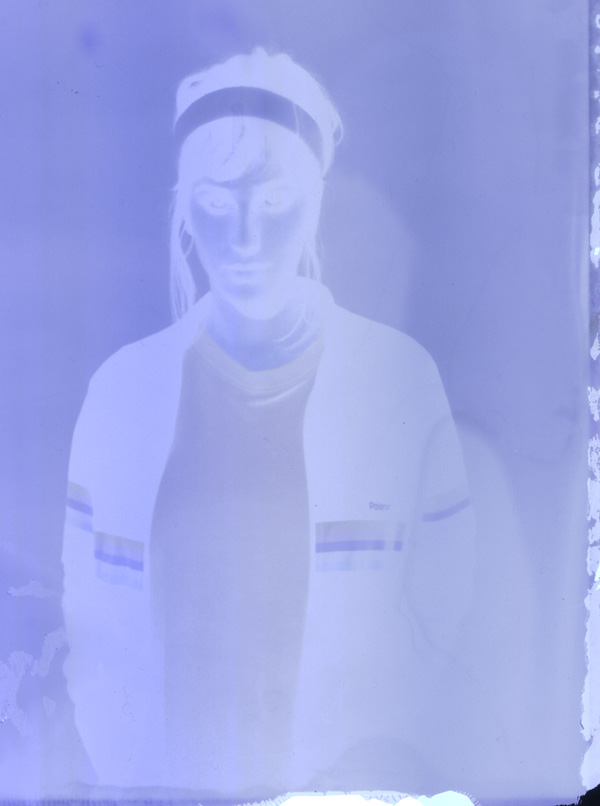
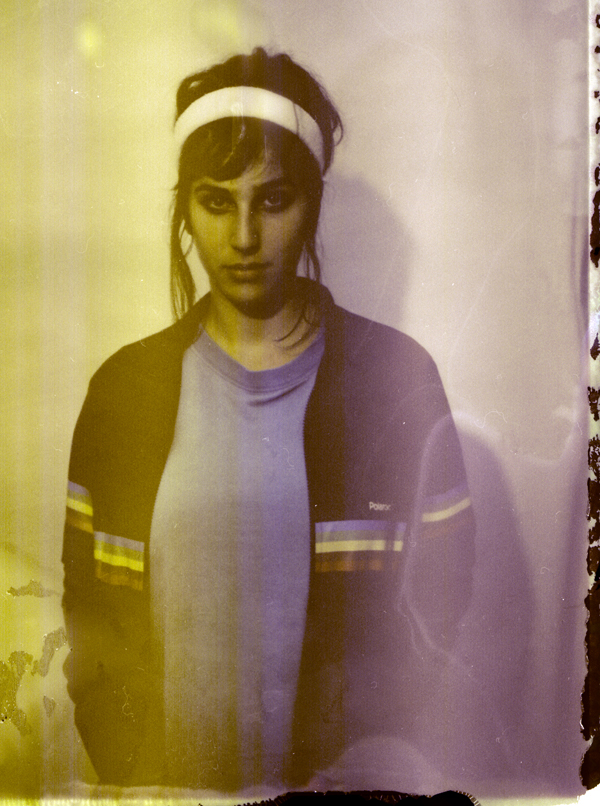
Here are the comparison between positive print, raw negative and corrected negative:
Ecco le differenze immagine positiva, negativo e negativo corretto:
Francesca – Positive print
Fuji FP-100C
Polaroid 600 SE
Francesca – Raw negative
Francesca – Corrected negative
Li – Positive print
Fuji FP-100C
Polaroid Automatic 100
Li – Raw negative
Li – Corrected negative
As can be seen the tones are completely different and the image obtained from the negative has a lot of dirt, dust and weird defects. Sadly my scanner crops part of the negs of this size so part of the images il lost. I have also tried to do contact prints in my darkroom that I am willing to post soon, once my scanner gets back to work properly.
Come si può vedere i toni sono completamente differenti e l’immagine ottenuta dal negativo ha molto sporco, polvere e difetti qualitativi. Purtroppo il mio scanner taglia parte dei negativi di questa dimensione e così parte dell’immagine è persa. Ho anche provato a fare stampe a contatto nella mia camera oscura che pubblicherò presto, non appena il mio scanner riprenderà a funzionare come si deve.
