Today I want to show you the shoebox pinhole camera I have done not long ago. This is probably the easiest way to do your own pinhole camera. It loads photographic paper sheets and of course polaroid film works too, I haven’t done good exposure with it yet because I’m pretty busy. That’s also the reason why I am showing things I have done instead things I am doing. But the blog is fresh new so some retrospective cannot be avoided.
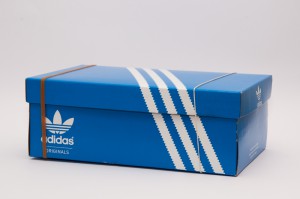
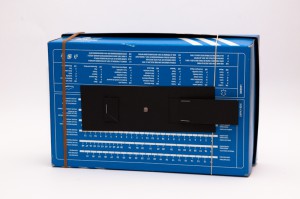
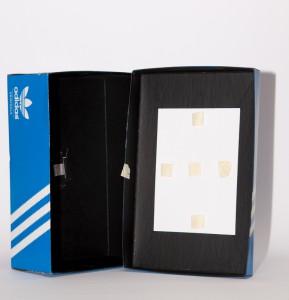
As you can see in the following pictures it’s made of an adidas shoebox spray painted black in the inside. The diaphragm (pinhole) is made on tin from a soda can with a needle, I didn’t check what’s the diameter. The shutter is made of thick black paper and everything is hold together by two elastic bands. The piece of white paper in it is to help me to spot the right position in complete darkness, I don’t really need it when I load it in darkroom because of the safe light.
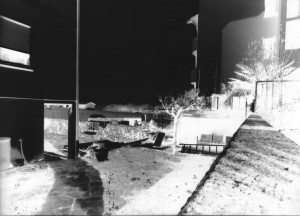
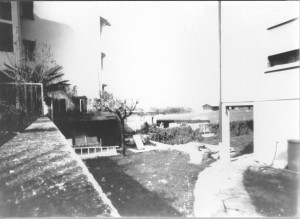
These are the first shots, they’re pretty much over exposed:
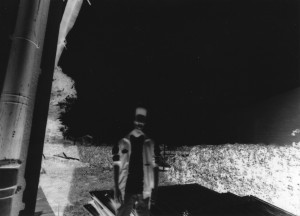
You notice there is a mirrored and negative version of each picture. For those who don’t know, the image obtained on regular film or photographic paper is both negative and flipped. The reason why prints are positive is because they are negatives of negatives, I hope this simplification is clear enough, if not just ask in the comment form on the bottom of this post. For the first shot I’ve used photoshop to flip and invert the image. To obtain the positive of the second shot I made a contact print, exposing a sheet to light trough the negative photograph with the image facing down, which flipping the final image to a right result.
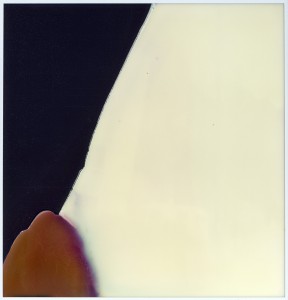
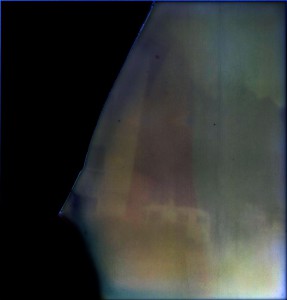
In the case of instant film the image is only flipped. They are always positive photos so the goes when exposed with this shoebox camera.
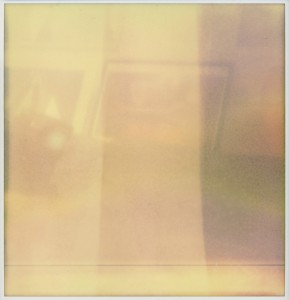
The first shot looks funny. Obviously the exposure time was too long and the photo is totally burned (the light part on the right) and a production defect made the chemistry come out in that irregular way. I love how it looks. Even if the shot was almost totally white I thought to myself “something must be impressed on this film, photoshop will give me the answer” and that happened. The second picture is the result of the first put under extreme leveling and there they are: part of my house, the camper and the mountain’s profile. The third and last shot was done indoor in shade conditions. It seems the exposure was again too long but I was sure to have reduced it enough this time. These three vertical stripes are something about the chemistry in the pod that is not uniform, the horizontal line is a manufacturing defect (the film was The Impossible Project PX680 Bottom Line and it was cheaper because of that issue).
I’ll find the right exposure and I’ll come out with some pinhole instant portraits or something soon. What do you think about it? Is it worth trying or is a waste of film and nothing new? Not that I think it’s new, but I’m intrigued with it! Please share your opinions :)

Big follower on this page, lots of your blogposts have seriously helped me out. Awaiting news!
Subscribe and stay tuned! ;)